
If visible mold covers more than 10 square feet, EPA guidance says homeowners should consult its formal remediation guide, while full containment is generally recommended above 100 square feet or when cross-contamination is likely. A proper mold remediation inspection still starts with finding and correcting the moisture source, because there are no federal mold-spore limits that define a universal “safe” result.
You may be looking at a darkened baseboard after a slow plumbing leak, smelling something musty near an air vent, or noticing a ceiling stain that keeps returning after painting. The natural reaction is to ask for an air test. In the field, that's often not the first question.
The useful question is, where did the moisture come from, how far did it travel, and is the structure dry now? Testing can support those answers, but it can't replace a careful inspection. EPA guidance emphasizes visual assessment, moisture investigation, source control, and post-remediation condition rather than a single laboratory cutoff. EPA's mold course guidance explains that sampling is usually unnecessary when visible mold is already present.
The First Steps of a Professional Inspection
A homeowner usually begins the appointment by explaining what happened. Perhaps a supply line leaked behind the kitchen cabinets, a roof flashing failed during a storm, or a bathroom wall has stayed discolored since a plumbing repair. The inspector listens for timing, affected rooms, drying efforts, odors, and areas that were opened or repainted.
That conversation matters because moisture rarely stops exactly where the first stain appears. A leak can move along framing, insulation, flooring, or the back of drywall. The inspection history helps the technician decide where to look beyond the obvious damage.

What the opening walk-through reveals
The initial walk-through is visual and deliberate. The inspector may examine:
- Baseboards and flooring: Warping, swelling, staining, or separation can show where water reached the assembly.
- Walls and ceilings: Discoloration, bubbling paint, soft drywall, and patchwork repairs can indicate earlier or ongoing moisture.
- Cabinets and closets: Enclosed areas may hold damp materials longer than open rooms.
- HVAC areas: Condensation, drain problems, and insulation damage can spread odor or moisture concerns.
- Adjacent rooms: A clean-looking room beside the leak may still contain affected materials.
The technician also notices odors. A musty smell doesn't prove the exact location or type of mold, but it can justify checking concealed cavities, flooring edges, and air movement paths. EPA states that remediation isn't effective if mold or moldy odors remain after the work is completed. This homeowner mold inspection checklist can help you record visible changes, leak history, and rooms that need attention before the appointment.
A good inspection feels investigative, not theatrical. The technician should explain what each observation means, identify areas that need further examination, and separate confirmed conditions from possibilities. EPA doesn't certify mold inspectors or remediation firms, so the quality of the visit depends on the professional's methods, documentation, and judgment rather than a federal mold-inspector license.
Tools and Techniques Used During the Process
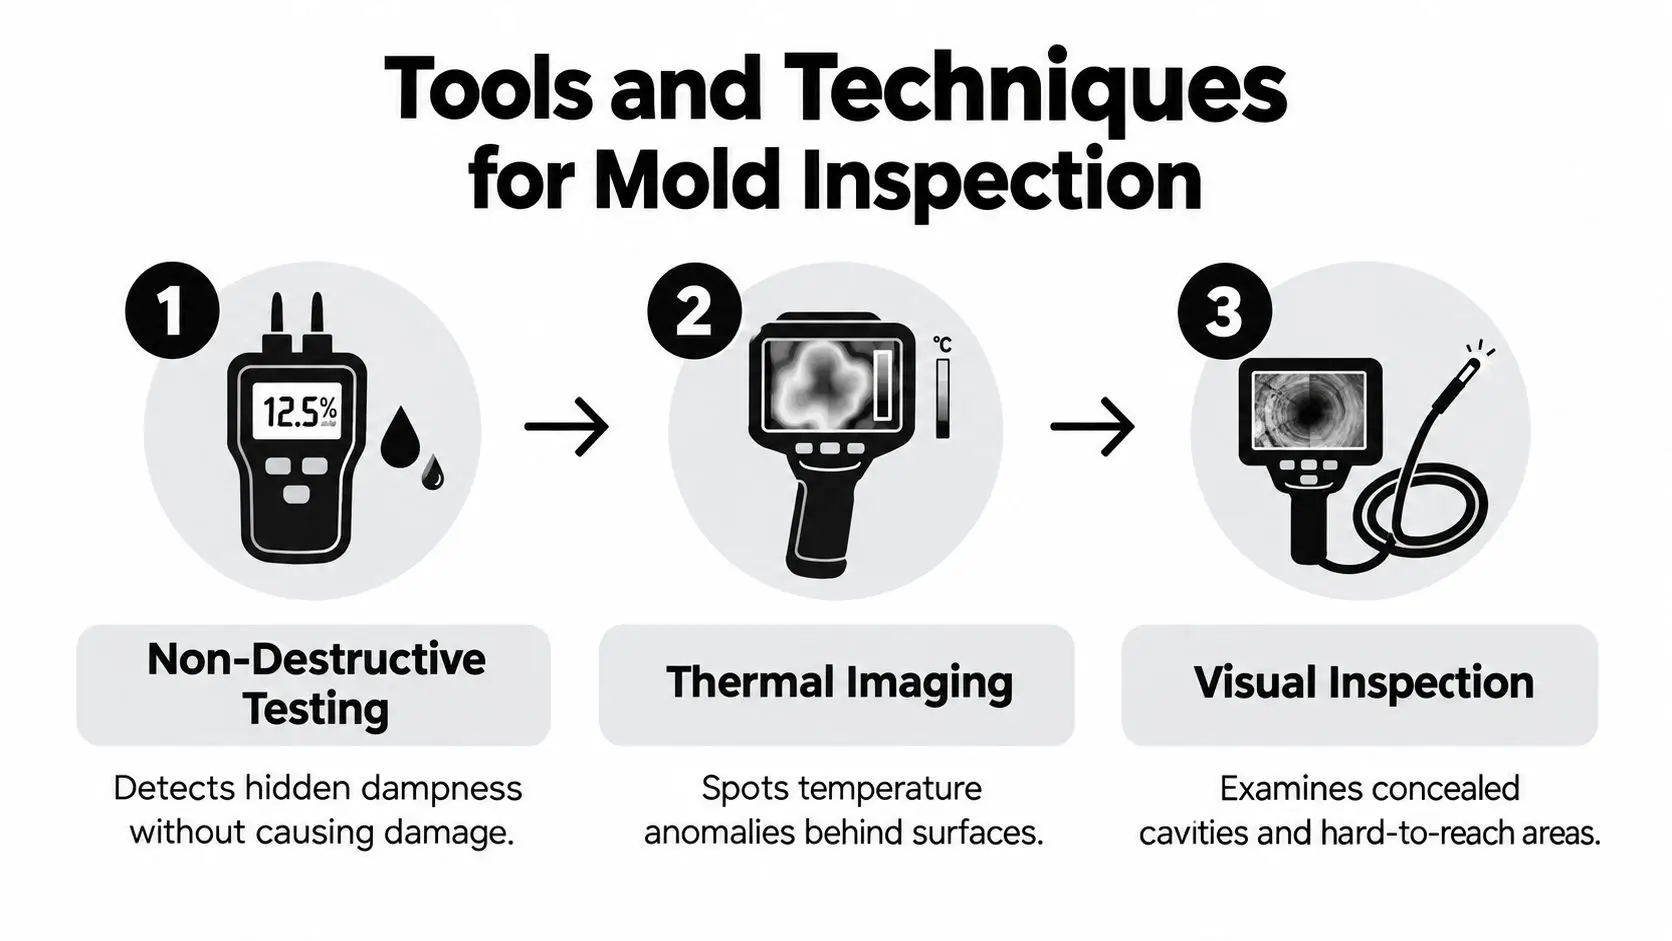
Inspection tools matter because they help locate the moisture source, define how far it traveled, and test whether materials are drying. They do not replace field judgment. A moisture meter measures dampness, an infrared camera shows temperature patterns that may point to moisture, and a borescope provides a view inside a concealed cavity. Each tool answers a different question.
Moisture meters establish the baseline
A non-destructive meter lets the inspector compare suspect materials with nearby areas that appear dry. Readings may be taken from drywall, trim, subflooring, framing, and other accessible surfaces. One reading rarely explains the condition. The technician looks for a pattern, then follows it toward the likely source and into connected assemblies.
Moisture mapping records readings across a defined area and marks them on a sketch, floor plan, or inspection image. That map shows where dampness starts, spreads, and stops. Water can travel sideways along framing or downward behind a wall, so the visible stain may sit away from the original entry point. The map helps determine which materials need closer examination and whether drying is working.
Practical rule: A clean-looking surface does not prove that the assembly behind it is dry.
Thermal imaging adds context
An infrared camera does not detect mold directly and cannot replace a moisture meter. It shows temperature differences that may correspond to wet materials, missing insulation, air leakage, or other concealed conditions. The inspector confirms a suspicious pattern with direct moisture readings and visual evidence.
A technician using thermal imaging inspection should explain both the color scale and its limits. A cool patch may indicate evaporation or wetness, but it may also result from framing, airflow, or ordinary construction. The camera helps choose where to take moisture readings. It does not establish the diagnosis by itself.
Borescopes examine concealed cavities
A borescope can inspect a wall, cabinet void, or similar cavity through a small access point. It may show damp insulation, staining, microbial growth, or a plumbing defect without requiring immediate removal of a large drywall section. The inspector must select the access point carefully and document what the camera reveals.
Moisture readings taken during the inspection also create a baseline for tracking whether materials are drying within the recommended window. If readings remain high, the next action is to identify and correct the moisture condition before treating the inspection as complete. The tools are valuable because they connect hidden conditions to the source, not because they produce a mold label on their own.
When Sampling Is Necessary and How It Works
Sampling should answer a defined inspection question. It does not replace the first task, which is locating the moisture source and identifying affected materials. EPA explains that visible mold usually makes routine sampling unnecessary because visible growth already shows that moisture and contaminated materials require attention. The inspector should document what is visible, determine why it developed, and use testing only when the result will change the next decision.
There are no EPA or federal limits for mold or mold spores that function as compliance thresholds. A laboratory report therefore does not provide a universal pass or fail result for a building. EPA's explanation of mold testing places the emphasis on correcting moisture and evaluating the affected area.
Air samples
An air sample measures airborne spores at one location and time. An inspector may request one when growth is not visible, a building has an unexplained odor or concern, or a comparison between areas needs support. When growth isn't visible, a defined mold testing service can answer comparison questions between areas. Results require context, including weather, ventilation, building use, sampling location, and recent disturbance.
Air testing cannot reveal every concealed source. A favorable result can occur while damp materials remain behind a wall. A higher result may reflect recent activity or disturbance rather than an established condition. The inspector should explain the question before collecting the sample and interpret the laboratory findings with the physical inspection.
Tape samples
A tape lift collects material from a surface for laboratory examination. It can help document whether a visible substance is fungal growth and may support identification of the material present. The sample still needs to be tied to the assembly beneath it. Checking the wall, floor, or ceiling for moisture explains why the growth appeared and what repair may be required.
Bulk samples
A bulk sample removes a small piece of building material for analysis. It may help characterize material that air or surface sampling cannot evaluate adequately. Before removal, the technician should explain the opening, how it will be protected, and which decision the result will inform.
Surface sampling can also support a cleaning or remediation review when visual evidence or a post-remediation question is uncertain, as EPA's remediation course notes. The trade-off is practical: unnecessary testing adds cost and confusion, while a targeted sample can clarify a specific decision when inspection evidence alone is insufficient.
Determining the Scope and Thresholds
A remediation plan starts with the source of moisture, then defines what materials and areas require action. The inspector should trace how water entered or accumulated, identify affected materials, assess air movement and occupant exposure, and determine whether work could spread contamination into clean spaces.
Two EPA size references serve different purposes. The 10-square-foot guideline indicates when formal remediation guidance should be consulted. The 100-square-foot threshold helps determine when larger projects need stronger containment, particularly when disturbed material could move through the building.
| Contaminated Area | Typical Guidance |
|---|---|
| Visible growth or moisture damage that is limited and localized | Investigate the moisture source, document affected materials, and decide whether localized cleaning or removal is appropriate. |
| More than 10 square feet | Consult formal remediation guidance for schools and commercial buildings, as recommended in EPA's mold cleanup guidance for homes. |
| More than 100 square feet | Full containment is generally recommended, especially when work could spread contamination to clean areas, according to EPA's schools and commercial buildings guidance. |
| Any size with likely cross-contamination | Use stronger isolation, barrier protection, work controls, and clearance scrutiny even when the measured area is smaller. |
Why boundaries matter
A small visible patch may sit beside concealed damage, while a broad stain may involve only a surface after the moisture source has been corrected. The inspector establishes the actual work area by comparing moisture readings with building materials, access points, and the event history.
Moisture meter readings are more useful than a single mold test at this stage. They help show whether the problem is active, drying, or confined to materials that can be removed and replaced. That distinction affects both the repair plan and the need for containment.
Containment is about control
Containment keeps dust, debris, and disturbed material from reaching unaffected parts of the property. Depending on the building and scope, the setup may include barriers, controlled access, negative pressure, and careful removal practices. The 100-square-foot benchmark supports a more formal approach, but a smaller project can still require careful controls if airflow or access creates a spread risk.
The inspection should account for shared HVAC pathways, occupied rooms, return-air openings, and contents needing protection. A plan that only says “clean the visible mold” overlooks the reason boundaries matter. Workers must control where particles and debris travel while correcting the moisture source and addressing affected materials.
Reading the Inspection Report and Clearance
A useful report lets you follow the inspector's reasoning from observation to action. It should identify each affected room, show photographs, record moisture findings, describe the suspected source, name affected materials, and disclose areas that were inaccessible. A phrase such as “possible mold throughout” gives you no practical basis for repair decisions.
Sampling may appear in the report, but every sample should answer a specific question. Laboratory results and particle counts provide context. They do not cancel visible growth, damp materials, or an active leak. Since federal agencies have not established universal mold-spore limits, a laboratory number alone cannot serve as a clearance decision.
What a post-remediation review checks
Post-remediation verification examines whether the work addressed the conditions that allowed the problem to develop. The inspector should review:
- Visible condition: No evidence of current or past mold growth remains in the remediated area.
- Odor: No moldy or musty odor remains.
- Moisture: Materials and nearby areas are dry, with readings recorded where appropriate.
- Work quality: Removed materials are gone, cleaned surfaces can be inspected, and dust or debris has not spread.
- Source control: The leak, condensation problem, intrusion path, or other moisture cause has been corrected.
EPA's guidance states that completed remediation should leave no visual evidence of present or past mold growth and no moldy or musty odors. If either condition remains, the work has not achieved that standard. Review the EPA's post-remediation guidance for the stated criteria.
Read the moisture section carefully
A report should list where readings were taken, which materials were tested, and what instrument was used. “The property is dry” is too broad to evaluate.
IICRC-aligned practice commonly treats wood below roughly 16% as dry for clearance purposes, while readings generally below 19% may represent an acceptable threshold in some guidance. These are practical benchmarks, not federal mold limits. The inspector should explain the substrate, meter, reading locations, and site conditions before you rely on them.
A post-remediation verification report should make the clearance decision easy to understand. If musty odor, visible growth, or wet materials remain, pause reconstruction and request investigation of the unresolved condition. Covering it with new finishes can hide the evidence without correcting the moisture problem.
Preparing Your Property for Next Steps
The inspection becomes useful when it leads to controlled action. Stop the leak, correct condensation, repair the roof or plumbing defect, and protect the affected area from additional water. Don't repaint stained materials or close an opened wall until the source has been corrected and the structure is adequately dry.
Give the technician access to affected rooms, adjacent spaces, utility areas, and any place where the odor or staining travels. Keep records of leaks, repairs, drying equipment, removed materials, photographs, and inspection findings. That documentation helps homeowners, contractors, property managers, and insurers understand what happened and why each step was taken.
Remediation should follow the defined scope, not guesswork. Remove or clean materials according to their condition, control dust and debris, verify drying, and inspect the finished area before reconstruction. Testing may support that process, but it doesn't replace source control or a careful visual and moisture-based review.
Restore Heroes handles mold-related inspections and restoration work in the Phoenix metro area, including moisture investigation, mitigation, structural drying, odor removal, and sanitation. To discuss the condition of your property and the next practical step, visit Restore Heroes and request an inspection.