
The phone call comes in after midnight. A pipe burst, water is spreading under the baseboards, and the ceiling below is starting to stain. In that moment, the claim isn't the first problem. Stopping the loss, proving what happened, and keeping the insurer's paperwork clean are what decide whether the rest of the process goes smoothly or turns into weeks of back-and-forth.
That's why how to file insurance claims after property damage is really a two-part job. First, you protect the building from getting worse. Then you build a record the insurer can verify. If you treat those as separate jobs, you avoid the most common mistake I see in the field, making permanent repairs too early, throwing out damaged materials before they're documented, or calling it in so loosely that the adjuster has to reconstruct everything from scratch.
When the Damage Is Fresh and You're Not Sure What to Do First
A homeowner walks into a basement at 11 p.m. and finds a foot of water around the water heater. The first reaction is usually panic, then speed, then regret. People start moving furniture, tossing ruined items, or hiring the first contractor who answers the phone, and only later realize they've made the claim harder to prove.
The better move is simpler. Stop the source if you can safely do it, keep people out of the hazard, and document the scene before it changes. The National Association of Insurance Commissioners says consumers should call the number on their proof-of-insurance card as soon as possible, and it notes that many insurers now let customers file claims through smartphone apps, so the clock starts quickly even if the paperwork doesn't. NAIC guidance on filing a claim
Practical rule: temporary protection is smart, permanent repair is a decision you usually make after notice to the insurer and, when needed, after inspection.
What matters in the first hour
Take photos of the damage as it was found, not after cleanup. Capture the water line, the affected rooms, the source if it's visible, and any belongings already damaged. Then start a simple log with the date, time, and what changed.
A quick example from the field, a soaked carpet and baseboard in one room is one thing. The same room after fans are moved in, a dehumidifier is running, and furniture has been shifted is harder to explain later unless you documented the before state. That's why early photos and a short note in your phone are worth more than a memory that will blur by morning.
If you're dealing with water intrusion, fire residue, or mold growth, a mitigation team can often stabilize the property first while the claim is still being set up. If you're comparing what early mitigation looks like in practice, the process overview at Restore Heroes water damage mitigation is a useful reference point.
Your First 48 Hours Without Jeopardizing Coverage
The first two days are a triage window. You need to protect the property, keep receipts, and avoid steps that can make the insurer question what was damaged. The practical standard is simple: make only temporary repairs, preserve evidence, and tell the insurer what you're doing before you start anything non-emergency.
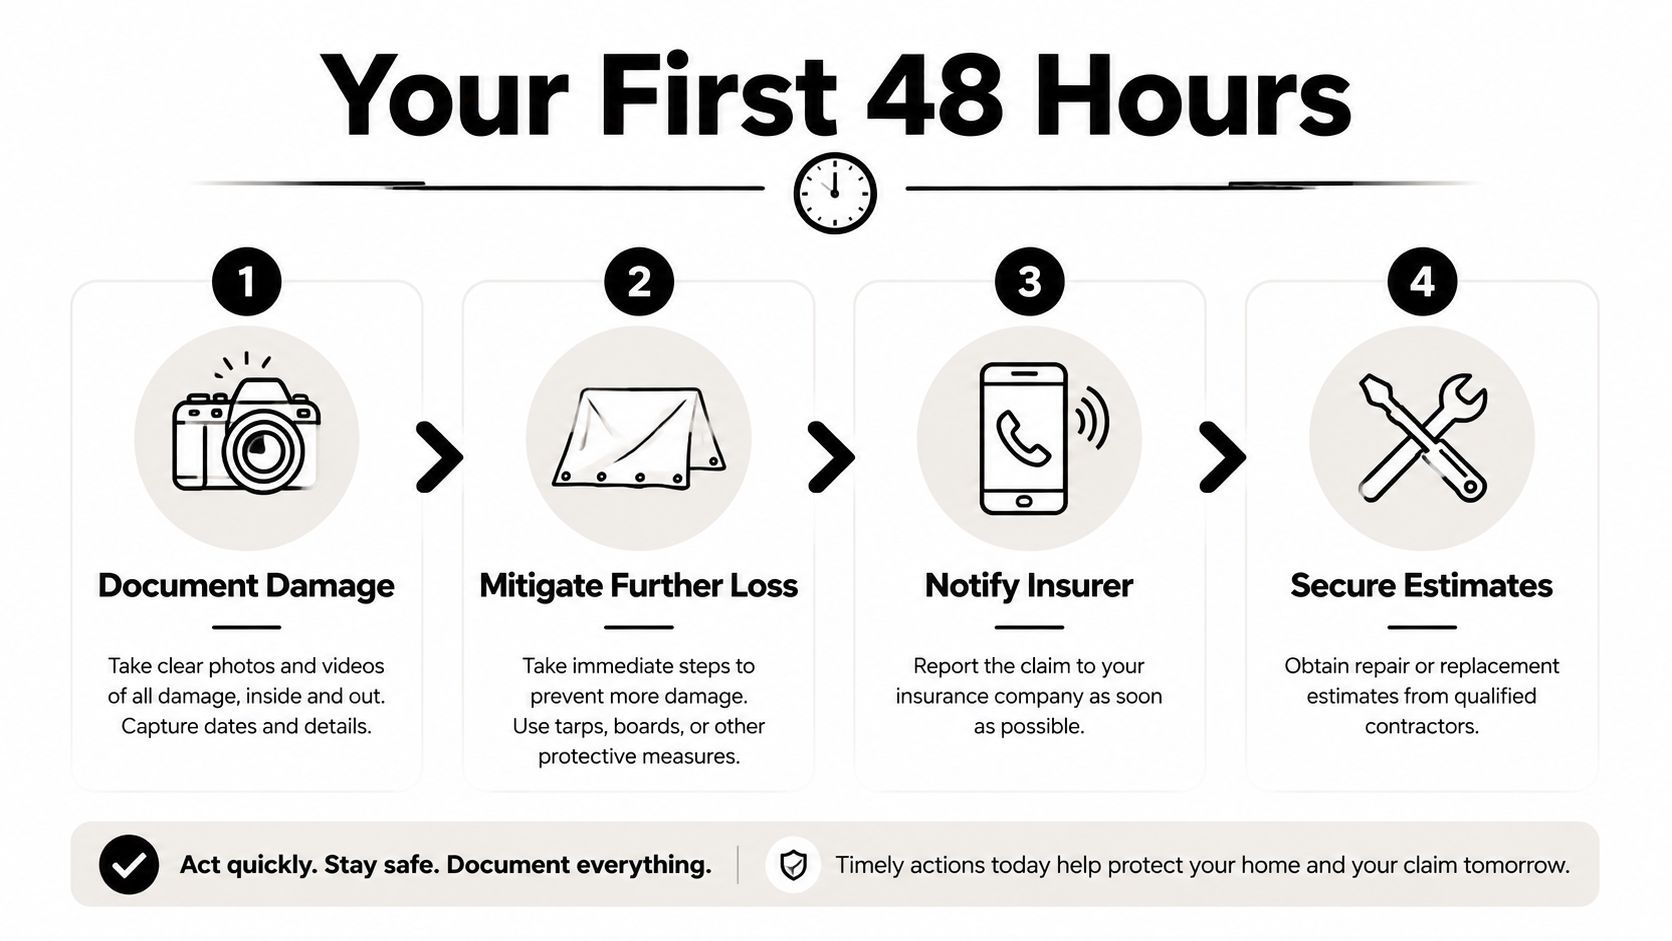
What to document before cleanup starts
Capture the damage from several angles. Photograph standing water, smoke staining, broken windows, warped flooring, fallen drywall, damaged contents, and any visible source of loss. If you can safely do it, record short video clips while narrating what room you're in and what you're seeing.
Keep a running damage log. Note the first time you noticed the loss, the weather if it matters, who was present, and what temporary steps were taken. Texas Department of Insurance guidance specifically says to note the time and date you first saw the damage and the weather at the time, then protect the property from further harm with temporary measures like tarps or covering broken windows, while avoiding permanent repairs until the insurer approves them. Texas Department of Insurance claim guidance
What temporary work is usually reasonable
Temporary mitigation is there to prevent the loss from getting worse. That can mean water extraction, drying, board-up, tarping, or sanitation after smoke or contamination exposure. Consumer guidance from the Government of Canada also says to make temporary repairs to prevent further loss, save receipts, and avoid permanent work before inspection. Canadian consumer guidance on making a claim
Save every receipt from the moment mitigation starts. Keep the invoice from the extraction crew, the materials used for a tarp or board-up, parking if it was tied to the emergency, and any hotel or laundry costs if your situation requires them. If you're trying to understand the policy side before you authorize work, the Restore Heroes homeowners insurance policy guide is a practical companion to this stage.
Document everything, make only temporary repairs, and notify your insurer before authorizing non-emergency work.
Filing the Claim and Building Your Evidence Packet
Once the loss is stabilized, the claim becomes an administrative file. That file starts with First Notice of Loss, usually shortened to FNOL. At that point, you're not just telling the carrier something happened, you're opening a timed process that will be reviewed, tracked, and adjusted against policy language and evidence.
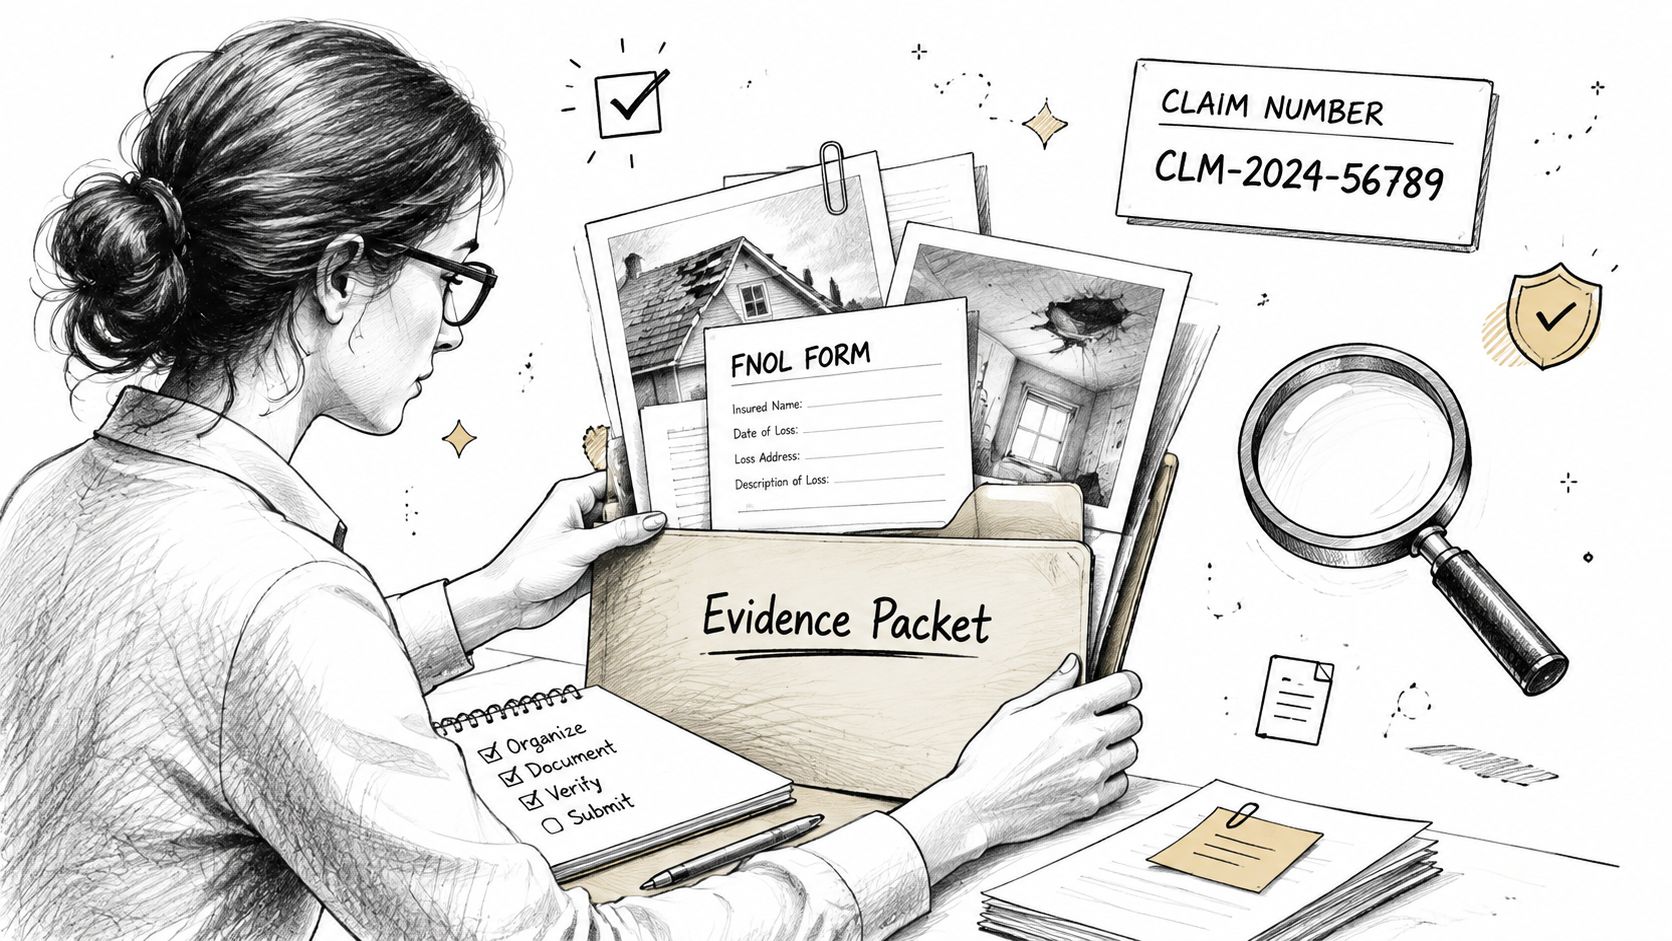
What to have ready before you call or tap submit
Have the basics in front of you, the policy number, the date and time of loss, the exact location, and a concise description of what happened. The Insurance Information Institute says to contact your insurance professional as soon as possible, even from the scene, and many insurers now let policyholders use a mobile app to report the claim, check status, upload photos, see deductibles, schedule an appraisal, reserve a rental car, and request towing or glass reimbursements. III claim filing guidance
If the insurer offers phone reporting and app reporting, use the channel you can document best. The app is often cleaner for uploads and timestamps, while the phone call can help when the scene is chaotic or you need immediate direction. For a deeper checklist on what carriers expect, Restore Heroes documentation requirements is the kind of reference I'd point a homeowner to before they start assembling files.
Your evidence packet should be organized, not just dumped into a camera roll. A strong packet usually includes:
- Date and time of loss, written clearly and consistently across every document.
- Policy number and property address, so the carrier doesn't have to guess which file it belongs to.
- Photos and video taken before repairs, because once the scene changes, so does the evidence.
- A written inventory of damaged property, room by room, with enough detail to identify what was affected.
- Receipts for temporary mitigation, so the insurer can see what was done to prevent further loss.
What a usable inventory looks like
A useful inventory reads like a contractor and a desk adjuster can both follow it. “Living room, sofa, water damaged on left arm, upholstery saturated, purchased about five years ago” is far more useful than “furniture damaged.” A weak list forces the adjuster to chase you for clarification, and that's where files start slowing down.
For policyholders who want an outside perspective on the claim process itself, a resource like Lighthouse Consultants insurance claims can help frame how structured claim handling is supposed to work, especially when documentation and timing are the main issues.
The insurer may later ask for a proof-of-loss or proof-of-claim form. That request is part of the formal settlement process, and your packet should already make that form easier to complete. The cleaner your evidence chain, the less room there is for the claim to drift into manual review.
Working With the Adjuster Without Losing Leverage
The adjuster usually decides whether a file moves fast or sits. They verify coverage, inspect the damage, estimate the repair cost, and recommend a settlement range to the carrier. Treat the conversation like a business review, and keep the focus on what was damaged, what was mitigated, and what still needs to be paid.
How to prepare for the inspection
Have your documents in one place, printed or digital. Keep the claim number, damage log, photos, inventory, and mitigation invoices close at hand. If the adjuster asks for the timeline, answer from the notes, not from memory.
There is also a difference between the person who shows up and the person who controls the file. Staff adjusters work for the insurer. Independent adjusters are still working on the insurer's assignment. Either way, the inspection turns on coverage, causation, scope, and cost, so a quick visit is rarely a complete one.
If you have a contractor's line-item estimate, bring it. That gives the adjuster a repair scope to compare against, instead of a vague statement that the room needs work. It also helps when the estimate looks thin, and the same preparation principles apply in these water damage insurance claim tips from Restore Heroes, where the focus is on documenting loss clearly before the file starts drifting.
Practical rule: if the estimate seems light, ask what line items were excluded, not just why the total is low.
How to respond when the estimate looks thin
Read the first estimate line by line. Look for missed rooms, incomplete demolition, cleanup, contents, access issues, or material matching gaps. If the offer is verbal, ask for it in writing before you respond. Written language gives you something to compare against your own scope and your policy.
A communication log matters here more than people expect. Record the date, the adjuster's name, what was inspected, and what was promised. If your state allows recording and you choose to do so, keep that as a supplement, not a substitute, because the written record is what stays organized when the file gets reviewed later.
For homeowners who want to understand the restoration side of the inspection, what a restoration company does helps explain why a contractor's scope and the adjuster's scope do not always match on the first pass. The gap is common, and it usually gets resolved through documentation, not argument.
How Restoration Contractors Fit Into the Process
A restoration contractor handles the technical side of the loss, extraction, drying, decontamination, demolition, and repairs. The insurer handles coverage and payment. The homeowner sits between those two roles and has to keep them from getting mixed together.
A lot of confusion starts with the term IICRC-certified. That certification signals training in restoration standards and procedures, which matters when someone is deciding how to dry a structure, when to remove materials, and how to document loss conditions. It also gives the work a clearer technical record if the claim is reviewed later.
Preferred vendors and what they really mean
Insurers often maintain preferred vendor lists. That can be convenient because those vendors already know the insurer's communication style, estimating format, and documentation expectations. It can also work out fine if the contractor stays independent on scope and billing.
A preferred vendor should not control your claim. The contractor should document the loss, provide the technical scope, and coordinate with the adjuster, while you still make the decisions about access, approvals, and final repairs. If a contractor acts as if the insurer already owns the job, that is a warning sign.
When I have seen the process work well, the contractor sends photos, moisture readings, demolition notes, and dry-out progress to support the file, while the homeowner keeps the insurer updated and signs only what they understand. That division keeps the claim moving and avoids the “nobody knows who approved what” problem that slows so many jobs.
What to check before you sign
Before authorizing any restoration company, ask three things. First, what exactly is included in the scope. Second, how they document the job for the claim. Third, who communicates with the adjuster and how often.
The same discipline applies whether the loss is from a pipe leak or a wind event. The workflow is about evidence and coordination, not blind trust. A contractor can help without taking over the claim, and the best ones know the difference.
For a broader look at how field work, documentation, and repairs fit together, what a restoration company does explains the contractor's role in the process.
Homeowners dealing with roof damage can also compare the restoration side with guide for Arizona homeowners on roof claims, especially when storm loss creates questions about temporary protection, repair scope, and what the insurer is likely to review.
Pitfalls That Quietly Reduce or Delay Settlements
The most expensive claim mistakes are usually boring ones. People skip inventory details, toss damaged items before the adjuster sees them, or start permanent repairs because they're tired of living in the mess. Those choices are understandable, but they make it harder to prove the loss and easier for the insurer to question the scope.
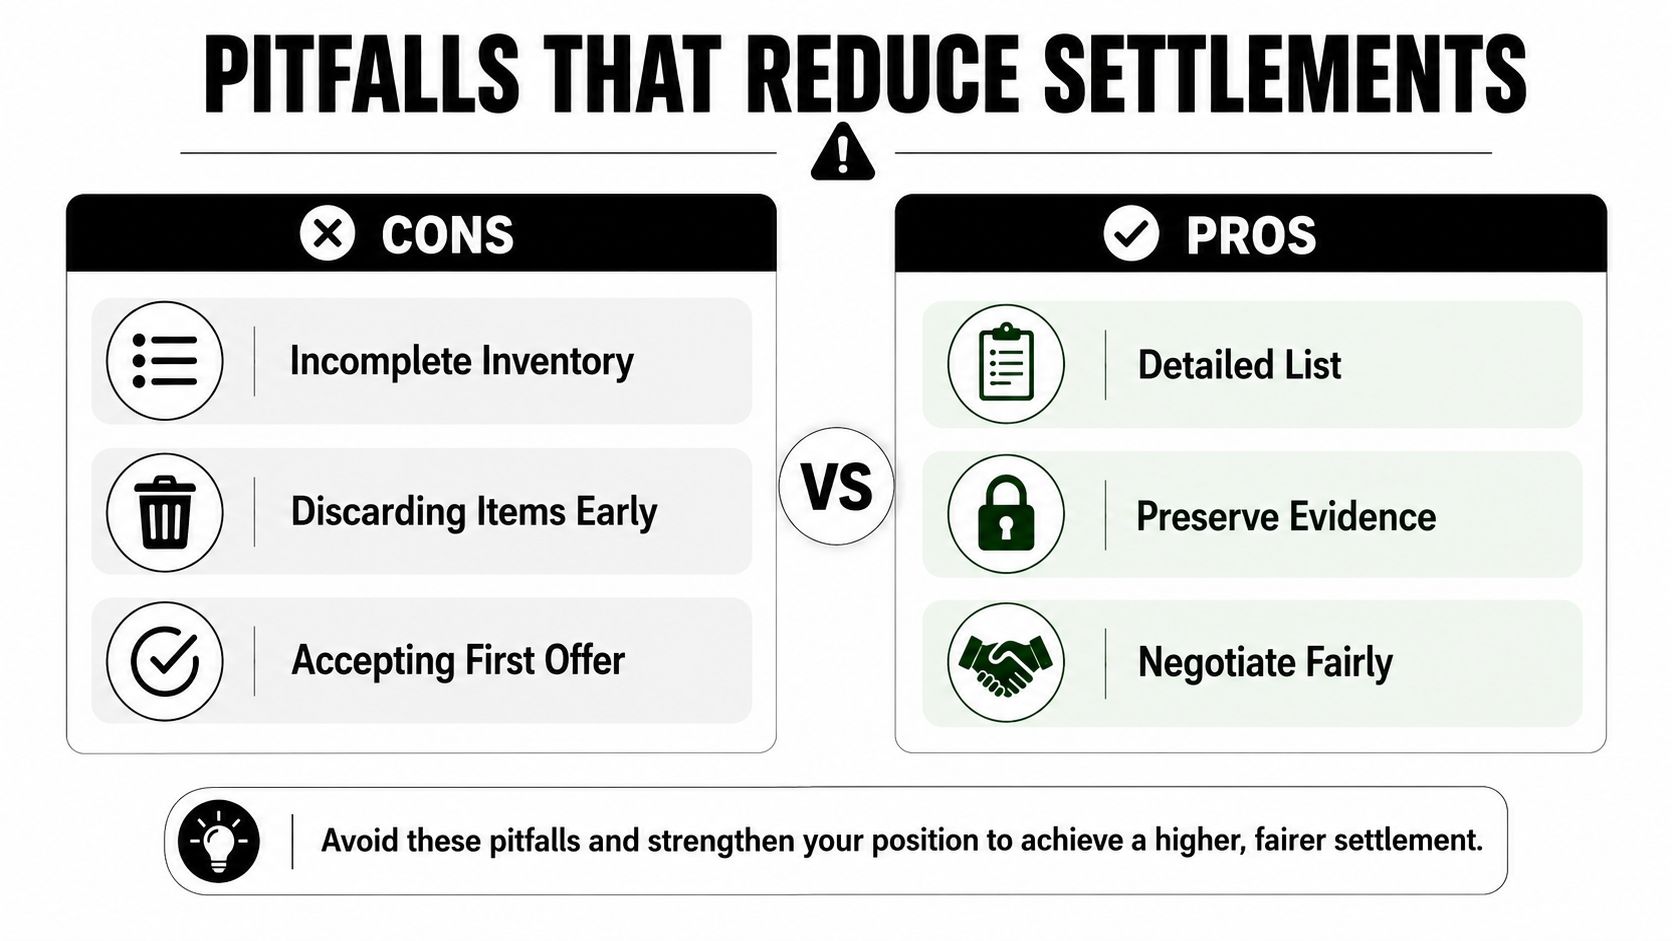
The mistakes I see most often
- Incomplete inventory: a vague list leaves the insurer guessing, so write what was damaged, where it was located, and what it was used for.
- Discarding items too early: if the adjuster can't see the loss, the carrier may ask for more proof, and you'll be stuck relying on memory.
- Premature permanent repairs: temporary stabilization is one thing, but final work before approval can create reimbursement disputes.
- Missing mitigation receipts: if you paid to stop further damage, keep the paperwork or the insurer may not see the expense as documented loss prevention.
- Poor communication logs: when no one can reconstruct the conversation, deadlines and promises become impossible to verify.
There are also quieter issues. Some policyholders never read the actual coverage limits and assume the first number they hear is the final number. Others confuse depreciation with replacement cost and think any initial reduction is a denial. Those aren't the same thing, and they're not handled the same way.
Red flags to watch during the claim
A rushed inspection is a warning sign if the adjuster didn't see the damaged areas that matter. So is pressure to sign a release before you've reviewed the estimate. If the settlement is being discussed only verbally, ask for the full position in writing.
If you need to push back, do it with specifics. Point to the omitted room, the missing line item, the receipt the file doesn't show, or the photo that proves the condition before cleanup. A clean factual correction works better than an emotional complaint because it gives the adjuster something they can verify.
What to Do When the Claim Is Delayed, Underpaid, or Denied
A delay usually means the file is still being investigated, reviewed, or queued for more documentation. A denial is different, because the insurer is taking a coverage position. If you don't separate those two, you can waste time arguing the wrong point.
Start with the insurer's internal process. Ask for the written reason, the specific policy language being relied on, and the document or inspection finding that triggered the decision. Then respond with supplemental evidence, not just frustration. More photos, a contractor scope, mitigation invoices, or a clearer inventory can move a stalled file more effectively than repeated phone calls.
If the carrier still won't move, escalate in writing. State Departments of Insurance or equivalent consumer complaint channels can review claim handling, especially when communication has broken down. Keep your timeline tight, and include every claim number, adjuster name, and correspondence date you can document.
A public adjuster or attorney can become worthwhile when the file is large, the dispute is technical, or the insurer's position isn't matching the evidence. The point isn't to threaten anyone. The point is to get someone involved who knows how to build a claim record that can survive review. Small-claims court can be a last resort in some situations, but by the time you get there, the paper trail matters more than anything you said on the phone.
Well-documented claims usually outperform poorly documented ones, even when the path gets messy. The process rewards clarity, patience, and follow-through.
If your property in the Phoenix area has water, fire, smoke, or mold damage, Restore Heroes can document the loss, handle emergency mitigation, and coordinate the restoration work with your claim file. Visit Restore Heroes to request a free inspection and get help stabilizing the property before the damage spreads further.