
The global market for water damage restoration dehumidifiers was estimated at $496.79 million in 2024, according to Data Insights Reports. Yet even a powerful dehumidifier can't tell you whether the subfloor beneath your kitchen is dry. Successful restoration depends on choosing tools for different jobs, then checking the materials themselves before repairs begin.
For Phoenix homeowners and property managers, the useful question isn't which machine to rent. It's what needs to be removed, what needs to be measured, and whether the work is safe to handle yourself.
Water Damage Restoration Tools at a Glance
Core water damage restoration tools and their jobs
| Tool | Main Job | Typical Use | Who Usually Runs It |
|---|---|---|---|
| Submersible or truck-mounted extraction pump | Removes standing water | Flooded floors, burst pipes | Professional crew |
| Wet/dry vacuum | Pulls water from carpet and pad | Small spills and shallow water | Homeowner or professional |
| Air mover (axial fan) | Speeds evaporation across wet surfaces | Walls, floors and subfloor | Professional, sometimes rented |
| Dehumidifier (LGR, conventional or desiccant) | Removes water vapor from the air | Enclosed rooms during drying | Professional, sometimes rented |
| Moisture meter (pin and pinless) | Measures moisture in materials | Mapping wet areas and confirming dryness | Homeowner or professional |
| Thermo-hygrometer | Reads temperature and relative humidity | Evaluating drying conditions | Homeowner or professional |
| HEPA vacuum | Captures fine dust and spores | Controlled cleanup after drying | Professional |
| Antimicrobial sprayer | Applies disinfectant to cleaned surfaces | Contaminated areas requiring treatment | Professional |
Match the tool to the job
Read the table in removal, drying, and verification groups. Removal tools handle liquid water. A pump moves accumulated water out of a room, while an extraction vacuum collects water from surfaces and accessible carpet layers.
Drying tools address the moisture that remains after extraction. An air mover encourages moisture to evaporate from exposed materials. A dehumidifier collects that moisture from the air, rather than leaving it inside the building.
Verification tools answer a different question: is the drying plan working? A moisture meter checks materials, while a thermo-hygrometer checks the surrounding air. Neither removes water, but both help prevent premature repairs.
A machine running in the room is evidence of activity, not proof that the structure is dry.
Cleaning equipment has a separate role
HEPA vacuums and antimicrobial sprayers belong to the cleaning and contamination-control part of restoration. They don't replace extraction or structural drying, and they aren't automatically needed for every small clean-water spill.
Consumer-grade equipment can suit a limited, accessible loss. A homeowner might collect a shallow spill with a wet/dry vacuum and monitor an exposed damp area. Large losses require commercial equipment, careful placement, and enough capacity to handle moisture throughout the affected construction.
The usual operator column is a starting point, not permission to enter an unsafe room. Water source, electrical conditions, concealed moisture, and contamination can turn an apparently simple cleanup into professional work. Timing also changes the tool list, especially when materials have stayed wet before anyone discovers the leak.
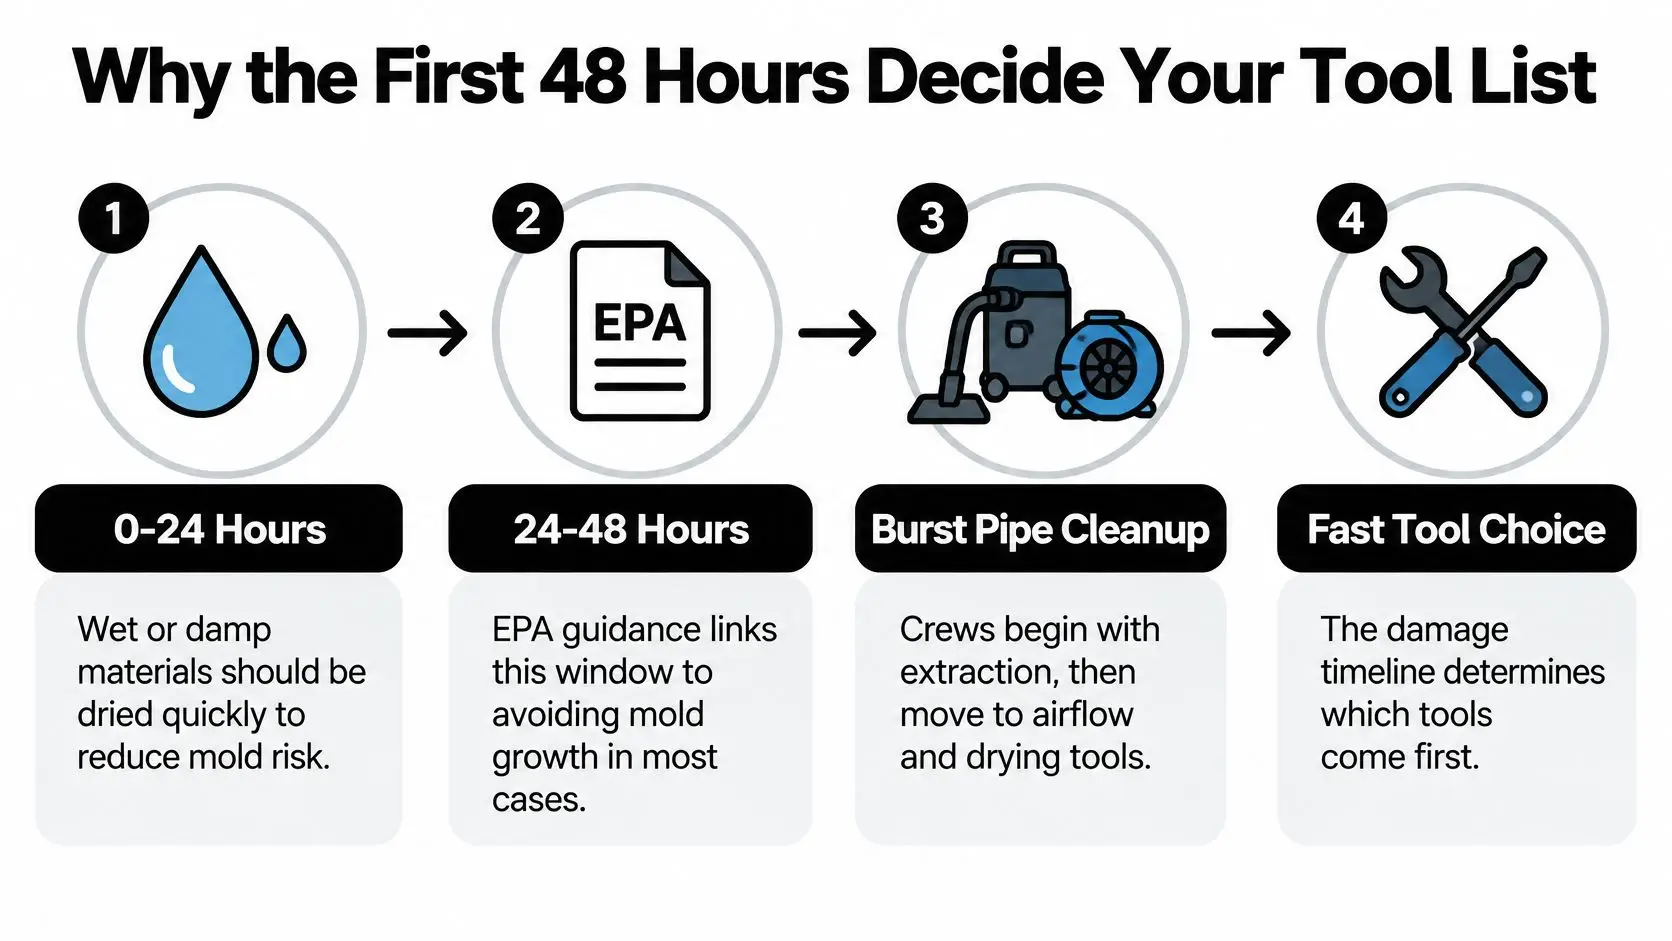
Why the First 48 Hours Decide Your Tool List
Wet or damp materials dried within 24 to 48 hours will, in most cases, avoid mold growth, according to the EPA's guide to mold, moisture, and your home. That window explains why restoration begins with immediate water removal rather than waiting for a room to air out.
The timeline below shows why crews prioritize extraction before sustained drying.
Follow the water through a kitchen
Say a supply pipe leaks beneath a kitchen floor. The visible puddle is only part of the problem, because water may also reach cabinet bases and the subfloor.
- Stop the source and extract safely. Once electrical hazards are addressed, remove accumulated water instead of asking fans to evaporate the entire load.
- Map moisture before final equipment placement. Check the subfloor edge, cabinet back, and baseboard. Mark the affected area so equipment serves the actual wet zone, not just the visible puddle.
- Establish controlled drying. Direct air across exposed wet materials and position dehumidification to process air circulating through that area.
- Repeat and record checks. Take readings at the same locations daily and compare them with unaffected construction of the same kind.
The clock starts when materials get wet, not when a technician arrives. If a leak was hidden, tell the crew when you first noticed staining, swelling, or odor, and whether the fixture had been running earlier.
Fans become less useful when the room air is already carrying substantial moisture. Dehumidification keeps the drying process moving by removing vapor from that air.
At Restore Heroes, we handle flooding, burst pipes, appliance leaks, and severe-storm damage. Our team arrives quickly to assess the damage, stabilize the property, and begin restoration to help prevent additional loss. The initial sequence is similar across these events, but contaminated floodwater requires different safety controls than a clean supply-pipe leak.
Electrical Safety Before Any Tool Is Plugged In
Treat electrical lines as energized until a qualified person establishes otherwise. Stay away from downed conductors, and don't enter standing water to retrieve equipment or reach a breaker.
For overhead lines that haven't been deenergized and visibly grounded, OSHA's water and sewer disaster-repair guidance specifies at least 10 feet of clearance or appropriate insulating barriers. Homeowners should keep clear and leave electrical isolation and barrier selection to qualified workers.
Check the power supply first
Portable tools need suitable protection, such as ground-fault circuit interrupters, double insulation, or an assured equipment-grounding program. A GFCI reduces shock risk, but it doesn't make flooded electrical equipment safe.
- Inspect cords and plugs. Remove damaged equipment from use rather than covering a damaged cord with tape.
- Confirm protected power. Use a safe, GFCI-protected supply for portable restoration equipment.
- Keep connections dry. Route cords away from wet floors, door pinch points, and walking paths.
- Stay out of water. Never operate powered tools while standing in a wet area.
For background on the equipment qualified electrical workers use, Yasu Trading Co. LLC's guide to electrical safety tools for electricians provides context. Owning those tools doesn't qualify someone to test flooded wiring.
Don't improvise generator connections
Never connect a generator directly to a building's electrical system unless a qualified electrician has installed a transfer switch. An improper connection can energize utility lines and expose line workers to electrocution.
If water reaches outlets or the electrical panel, have power to the affected area shut off from a safe location. Don't approach a wet panel yourself. Contact the utility or a qualified electrician when safe isolation isn't possible.
Extraction Pumps and Wet Vacuums in Detail
Remove bulk water before trying to dry the structure. Evaporating a roomful of water is a poor substitute for physically collecting and discharging it.
These removal tools serve different scales of work.
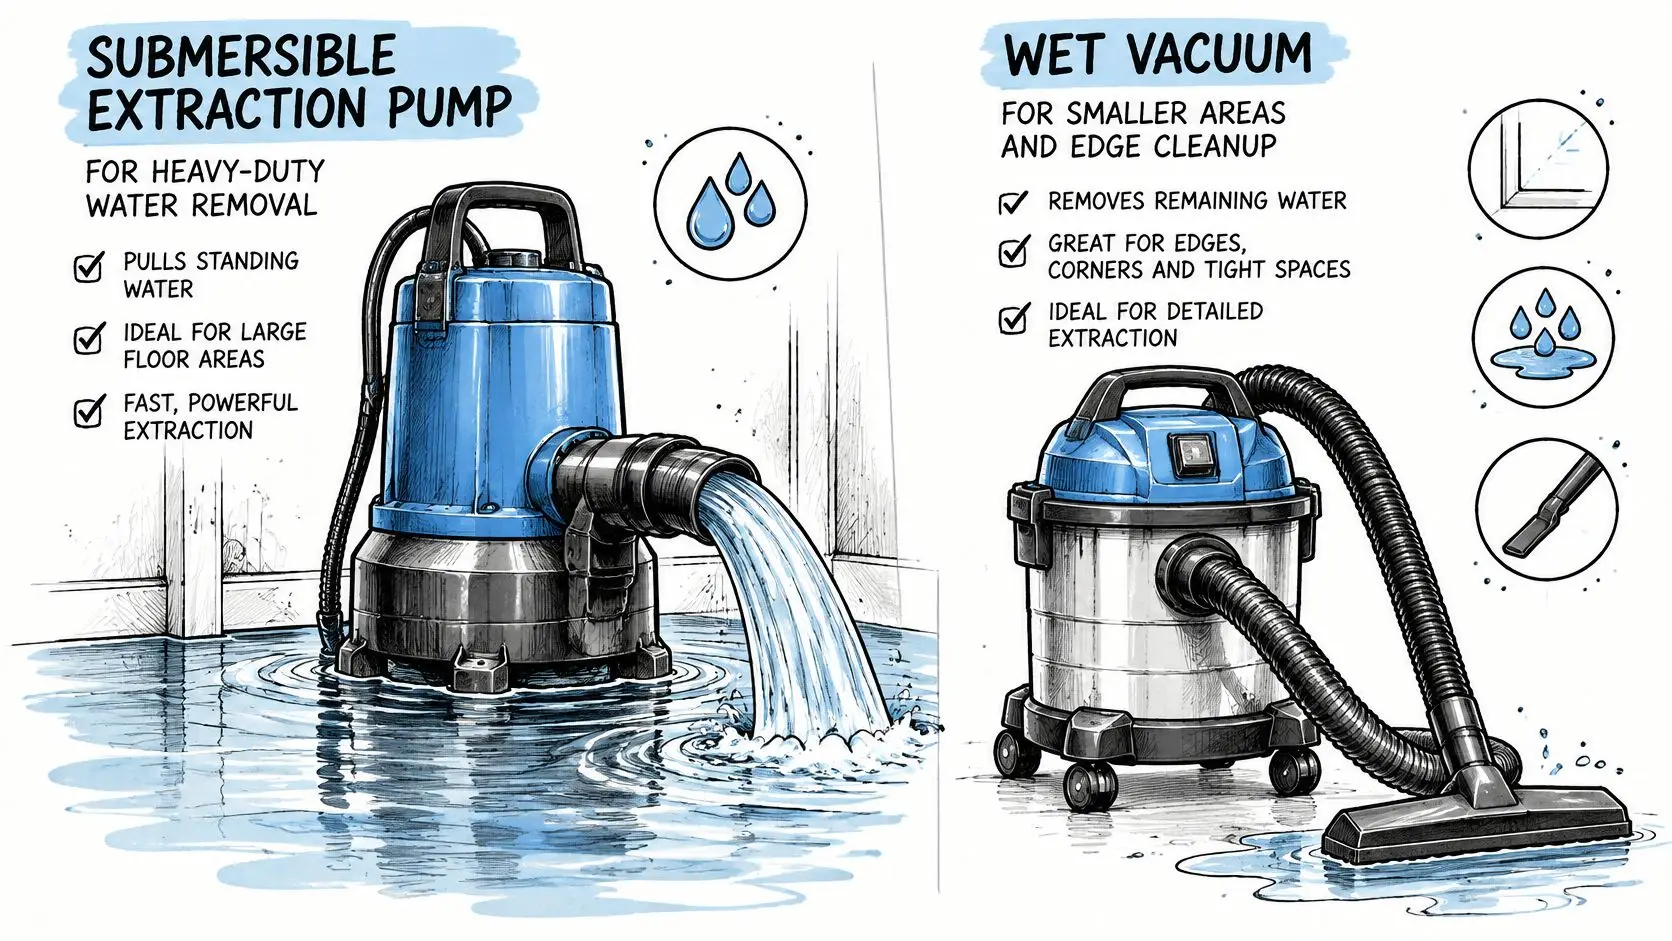
Pumps and truck-mounted extractors
A submersible pump operates in accumulated water and moves it through a discharge hose. A truck-mounted extractor uses suction through hoses and extraction attachments to collect water from accessible surfaces.
Professional crews choose between them according to water depth, access, debris, and the materials involved. A pump may handle accumulated water across a flooded floor, while an extraction wand collects the water left against flooring or within carpet.
Discharge planning matters as much as suction. Water must go to an appropriate location without flowing back toward the building, spreading contamination, or creating another hazard.
We use advanced equipment and proven techniques to extract standing water, dry affected areas, and help prevent mold growth. Our guide to water extraction equipment explains the equipment used for this removal stage.
Wet/dry vacuums for limited cleanup
A wet/dry vacuum can handle a small, shallow clean-water spill when the power supply and surrounding area are safe. It isn't interchangeable with an ordinary household vacuum, which shouldn't be used to collect water.
Configure the machine for liquid pickup according to its instructions. Consumer units require repeated emptying, and the tank, hose, and attachments need cleaning and drying afterward.
On carpet, a dry-looking face doesn't establish that the backing, pad, or subfloor is dry. Don't assume repeated passes over the carpet can make every layer salvageable.
The EPA's commercial-building remediation guide recommends extracting water from carpet and backing, reducing humidity with a dehumidifier, and accelerating evaporation with fans. It also warns that drying within 48 hours doesn't guarantee mold hasn't developed, and materials wet longer than that should be evaluated under more extensive mold-remediation procedures.
That clean-water sequence isn't a homeowner cleanup plan for sewage or chemically contaminated water. Those losses require exposure controls and professional evaluation.
Before moving on to drying
- Remove accessible liquid. Don't leave puddles for an air mover to handle.
- Check beneath flooring. Include carpet pad and subfloor conditions in the assessment.
- Log the discovery time. Record what's known about when the leak started.
- Escalate prolonged wetting. Call a professional when materials have remained wet beyond the prompt-drying window or the duration is unknown.
Air Movers and Dehumidifiers That Dry Structures
Air movers and dehumidifiers work as a pair. Airflow encourages moisture to leave wet surfaces, while dehumidification removes the resulting vapor from the room.
The EPA's mold and moisture resources identify fans and dehumidifiers as practical drying tools. Increased air circulation and suitable temperature conditions support faster drying, but moving humid air around isn't the same as removing moisture.
Choose the dehumidifier for the conditions
Dehumidifier types for water damage drying
| Type | How It Removes Moisture | Best For | Main Limit |
|---|---|---|---|
| Low-grain refrigerant (LGR) | Cools air to condense water and produce low-moisture discharge air | Structural drying in moderate temperatures | Needs careful sizing for large loads |
| Conventional refrigerant | Cools air below its dew point to collect water | Warm, humid rooms | Less effective when air is cold or very dry |
| Desiccant | Uses a moisture-attracting drying material | Cold rooms and low-temperature spaces | Can use more power and generate substantial heat |
An LGR unit is designed to continue removing moisture as drying conditions become less humid. A conventional refrigerant unit may suit a warm, damp room, but its performance falls as conditions move outside its useful operating range.
Desiccant systems use drying material rather than relying solely on cold coils. They can serve cold spaces, but their heat output, power needs, and air-handling arrangements require planning.
Bear Valley Plumbing & Heating's explanation of how heat pumps remove moisture helps clarify the cooling-and-condensation principle. A household heating and cooling system, however, shouldn't be assumed to have the capacity or controls needed for structural restoration.
Place equipment around the wet materials
Aim air movers across exposed wet surfaces, not toward the ceiling. Axial units and other professional air-mover designs serve different airflow needs, so placement should follow the affected construction and the equipment's instructions.
Position the dehumidifier where it can process circulating room air without a blocked intake or discharge. Our explanation of water damage fans describes how directed airflow fits into structural drying.
- Size for the actual load. Use manufacturer rating charts, room volume, temperature, and the extent of wet materials. Large jobs need professional sizing.
- Manage condensate. Secure discharge hoses or empty collection containers before they overflow.
- Record operating conditions. Log temperature, relative humidity, equipment models, and placement.
Phoenix check: Hot outdoor air isn't automatically useful drying air. Measure indoor conditions before opening the building to monsoon moisture.
Check material readings alongside air conditions. A falling room-humidity reading is encouraging, but it doesn't establish that a cabinet base or enclosed floor assembly has reached its drying endpoint.
Moisture Meters and How to Confirm Drying Is Done
Target readings for confirming dry materials
| Material or Condition | Target Reading | How to Check |
|---|---|---|
| Wood framing or subfloor before refinishing | Generally 15% moisture or less, as described in the EPA's flood-cleanup guidance | Appropriate wood-calibrated meter, with depth checks using suitable pin probes |
| Drywall | Matches unaffected dry reference wall | Pinless scan compared with a dry control area |
| Indoor relative humidity | Trending down and stable under suitable drying conditions | Thermo-hygrometer logged daily |
| Concrete slab | Meets the flooring system's specified moisture requirement | Concrete-rated testing; ordinary wood pins aren't a valid slab acceptance test |
| Cabinets and baseboards | Matches unaffected reference | Meter checks at the back and base, not only the face |
A dry-feeling floor can hide moisture behind baseboards, inside wall cavities, or beneath flooring. Use the right meter scale for the material, because a relative scan value isn't automatically a moisture percentage.
Understand what each meter measures
A pin meter uses probes to measure electrical resistance at a specific location. Suitable extended probes can help investigate depth, but ordinary short pins only assess the area they reach.
A pinless meter scans without making holes and is useful for finding patterns across a room. Metal, material thickness, and assemblies beneath the surface can affect results, so compare like construction rather than treating every high reading as proof of water.
A thermo-hygrometer supplies the air-side information. The ANSI/IICRC S500 standard addresses psychrometry and drying technology, including the relationships among temperature, relative humidity, vapor pressure, and evaporation potential.
Build a repeatable drying record
- Mark your locations. Record the room, material, date, meter mode, and reading at the same points on each visit.
- Establish a dry reference. Measure unaffected construction of the same material and assembly.
- Watch for a stable endpoint. Continue drying until affected readings stabilize near the appropriate reference and meet repair-material requirements.
- Investigate stalled readings. Arrange professional cavity inspection or thermal imaging when an area remains high.
Our guide to moisture meter readings adds context for interpreting results rather than relying on a meter's warning light alone.
Thermal cameras help locate temperature patterns that deserve investigation. DigiDevice thermal camera advice offers background on using imaging to investigate leaks, but an image still needs confirmation with material measurements.
Verification rule: Thermal imaging can suggest where to check. It doesn't directly measure moisture content or certify that a wall is dry.
Don't close a wall just because the accessible drywall face appears normal. Where insulation or enclosed layers were wet, a professional may need controlled access to verify those hidden materials.
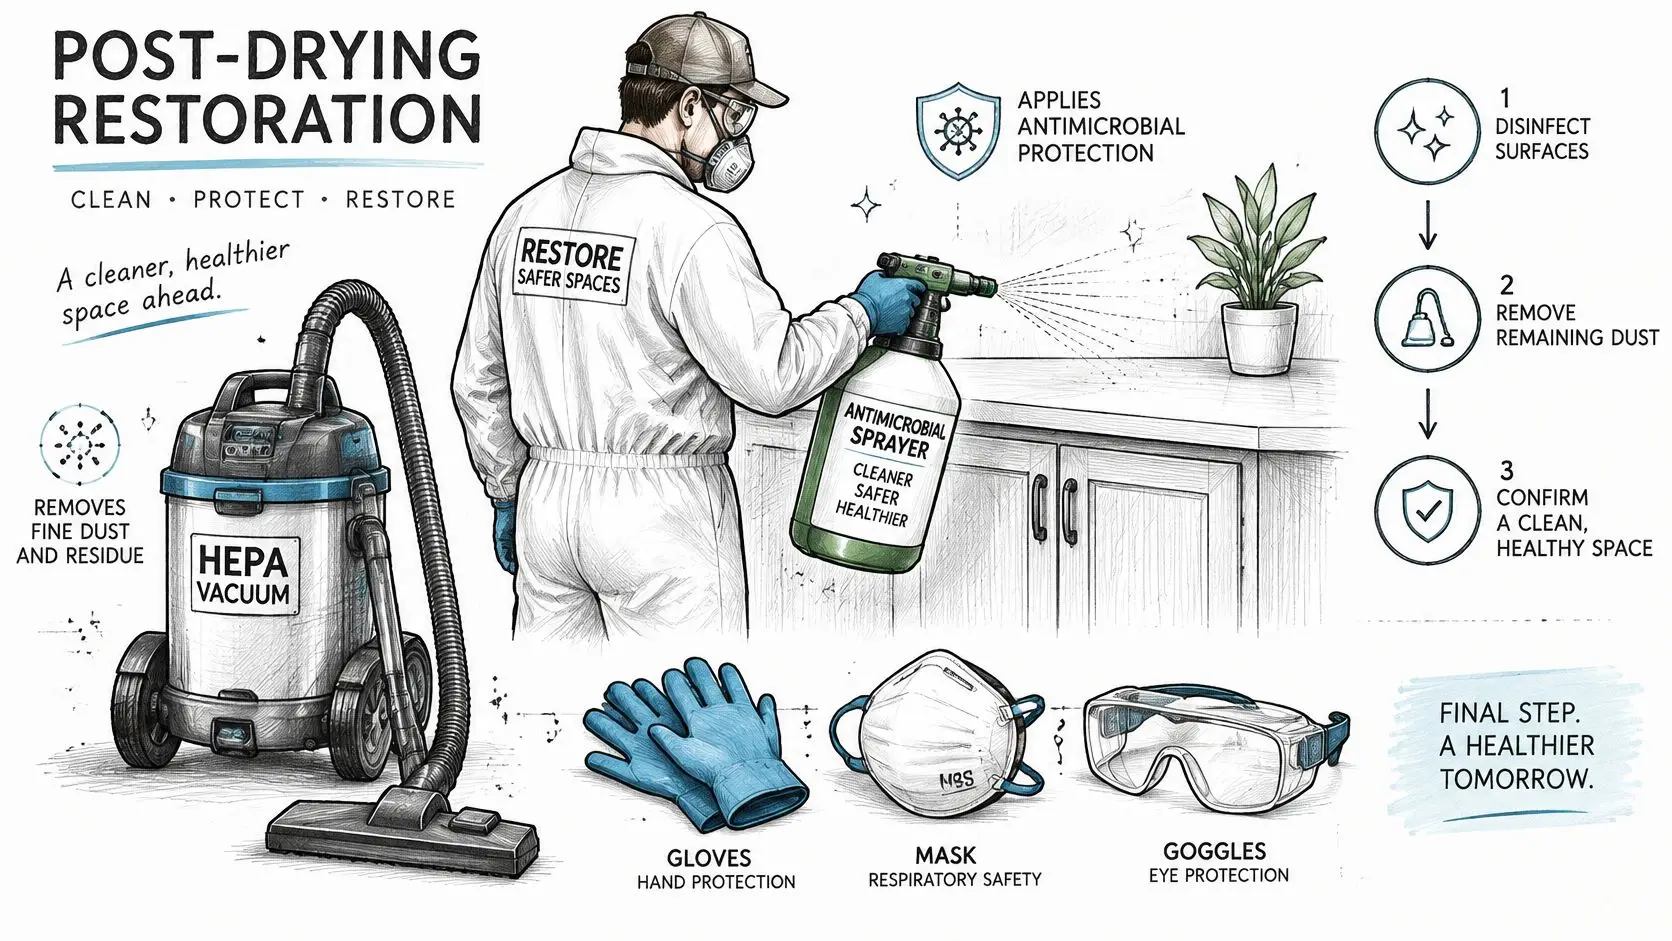
Antimicrobial Sprayers, HEPA Vacuums and Protective Gear
An antimicrobial sprayer applies an appropriate treatment to prepared surfaces. A HEPA vacuum captures fine particles during controlled cleanup, including dust and microbial fragments that unsuitable vacuum equipment may release back into the room.
These tools belong within a contamination-control plan.
Cleaning comes before treatment
A disinfectant isn't a substitute for removing dirt, damaged material, or moisture. In the finishing stage, treatment should follow cleaning and verified drying where appropriate, with application methods and surface conditions governed by the product label.
The EPA's essential mold guidance emphasizes correcting the moisture source, cleaning and drying affected materials, and discarding porous items that can't be adequately cleaned and dried. Spraying an unsalvageable material doesn't make it suitable to keep.
Our explanation of antimicrobial treatment describes how treatment fits into restoration rather than replacing the removal and drying work.
Prevent contamination from traveling
Equipment used in sewage, floodwater, or other contaminated losses needs documented cleaning and decontamination before reuse in clean areas. Hoses, wheels, handles, and equipment housings all deserve attention, not just the surfaces touching water.
Air movers can spread contaminated dust or droplets into unaffected rooms. Don't start blowing air through a moldy or unsanitary area before containment and exposure risks have been assessed.
This video provides additional context for restoration work.
Select protection after assessing hazards
- Assess exposure first. Identify the water source, suspect mold, chemicals, and work that could release particles.
- Protect skin and eyes. Choose suitable gloves, eye protection, footwear, and protective clothing.
- Evaluate respiratory needs. Basic nuisance-dust filtering isn't equivalent to a mold-remediation respiratory-protection program.
- Control the work area. Use containment and negative-air controls where the assessment calls for them.
- Handle waste correctly. Manage contaminated filters and consumables as regulated waste where applicable.
Respirator selection requires more than choosing a mask from a shelf. Professional crews must account for the hazard, fit, and applicable respiratory-protection requirements.
The endpoint is dry, verifiable construction without cross-contamination or unsafe exposure, not merely a clean-looking room or a disinfectant smell.
Homeowner Tools Versus Professional Equipment
Homeowner and professional tool options
| Tool | Homeowner Option | Professional-Only Option | Recommendation |
|---|---|---|---|
| Wet/dry vacuum | Own one for small, shallow spills | Truck-mounted extraction | Own for small spills; call a pro for substantial standing water |
| Dehumidifier | Rent a suitable unit for a small room | Commercial LGR units sized to the load | Rent for limited drying; let a pro size large jobs |
| Air mover | Box fans across minor damp spots | Planned structural drying with axial air movers | Use box fans only for minor, clean-water dampness |
| Moisture meter | Pinless meter for trend checks | Depth investigation with pin probes and thermal imaging | Track trends yourself; leave concealed-moisture clearance to a pro |
| HEPA vacuum | Dry household dust cleanup | HEPA equipment within contaminated-loss containment | Let a pro handle contaminated losses |
| Antimicrobial sprayer | Household product used exactly as labeled | Professional application within remediation | Don't attempt mold remediation by spraying |
| Leak detection and shutoff | Point sensors and whole-property flow monitoring | Commercial building-management integration | Install for prevention, not instead of drying |
Know the boundary of a small cleanup
Homeowner cleanup is reasonable only when the source is known, the water is clean, access is safe, and the affected materials are limited and accessible. Professional work begins when wetting is prolonged, contamination or mold is present, or moisture reaches concealed construction.
Thermal investigation and cavity inspection are best left to trained crews. Our DIY water damage restoration guide helps distinguish manageable cleanup from work that needs professional assessment.
Prevent and document the next incident
Point sensors, whole-property flow monitors, and automatic shutoff valves can help reduce repeat losses; HSB's flow-monitoring initiative describes monitoring through an existing water meter with mobile alerts. Check Wi-Fi, power, and backup behavior because these systems supplement, rather than replace, extraction, drying, and sanitation.
For landlords and facility managers, maintain an incident log covering alerts, shutoff actions, moisture readings, and vendor response times. Include vacant units, water heaters, plumbing risers, and mechanical rooms in monitoring plans.
We're IICRC certified, licensed, bonded, and insured. Certification and appropriate licensing matter for the professional tasks in the table because those jobs require coordinated assessment, equipment selection, and exposure controls.
Decide Which Tools to Use and When to Call a Pro
Choose water damage restoration tools by the condition of the building, not by whichever rental machine is available. A wet/dry vacuum may be enough for an isolated spill, but uncertainty about the water source or hidden materials calls for assessment rather than guesswork.
Use this checklist before starting cleanup.
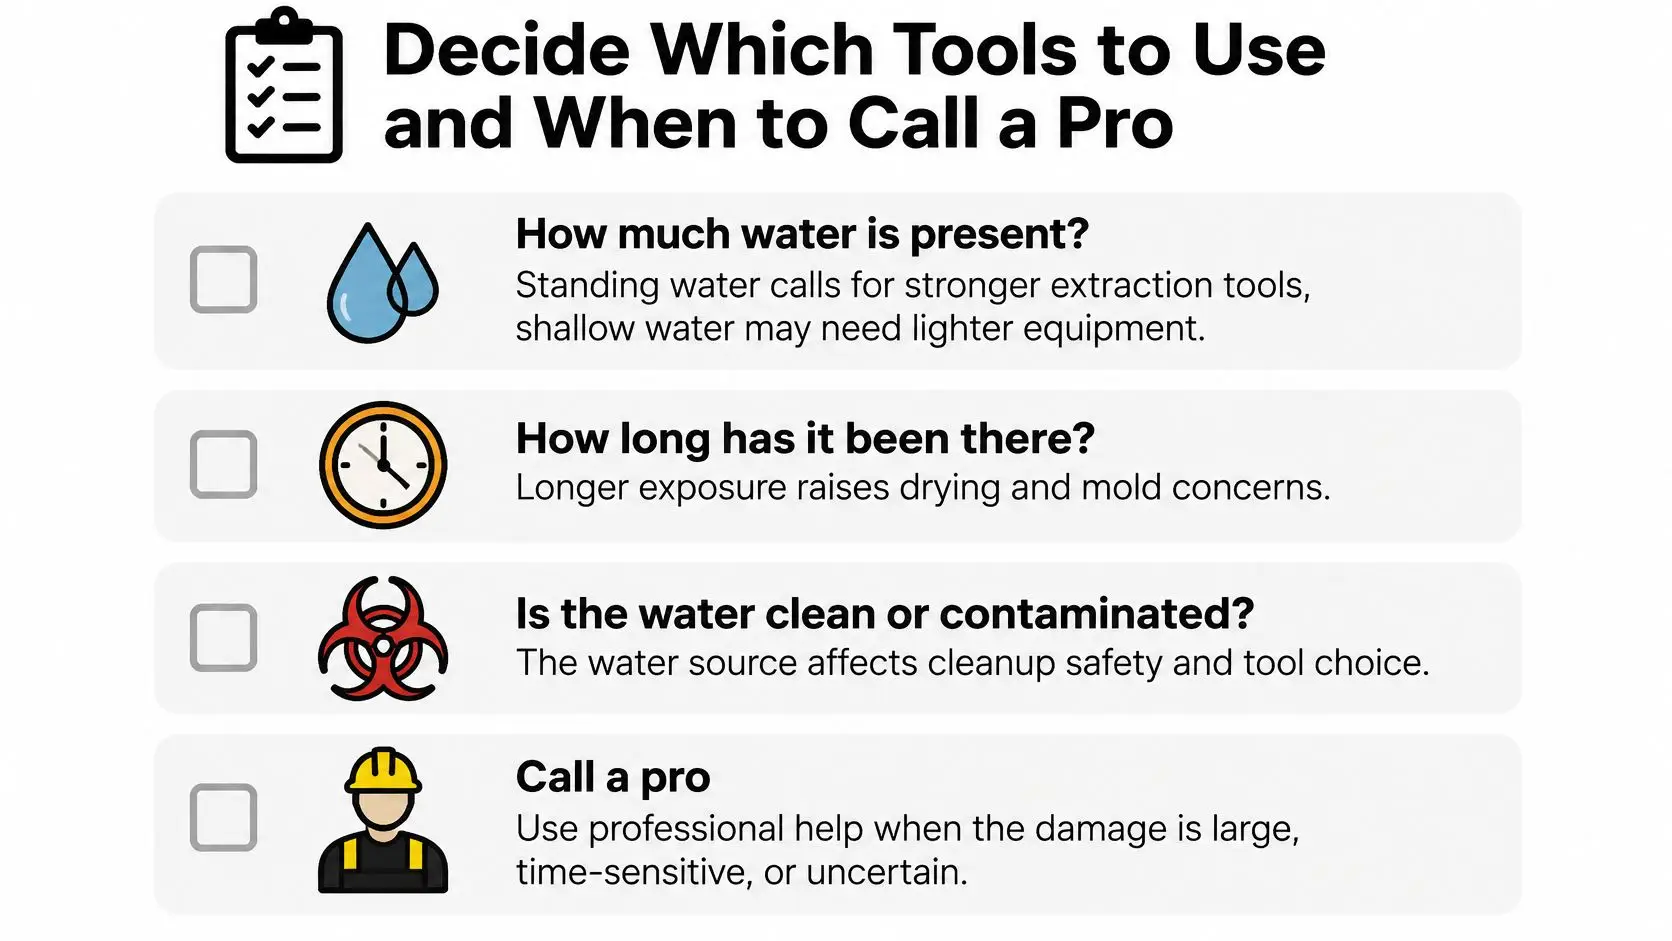
Check for reasons to escalate
- Water quantity. Is there substantial standing water rather than a small, shallow spill?
- Exposure time. Has water remained long enough to raise concern, or is the start time unknown?
- Water source. Is contamination present or possible?
- Concealed spread. Has moisture reached walls, cabinets, subfloors, or enclosed spaces?
- Mold or odor. Is there visible growth or a persistent musty smell?
- Electrical hazards. Has water reached outlets, wiring, equipment, or the electrical panel?
If any answer is yes, contact a certified restoration company now. Don't wait for visible mold or remove building materials yourself to find out how far the water traveled.
Expect assessment before reconstruction
A certified team inspects the damage, maps and documents moisture, and develops a restoration plan around the affected materials. Instrument checks establish whether drying is progressing and whether construction is ready for repair, rather than relying on appearance alone.
Our IICRC-certified professionals assess the extent of damage, develop a customized plan, and verify moisture removal. We're available 24/7 for emergency response, with a free inspection and free onsite estimate.
Call Restore Heroes at 480-690-5277, or use our contact form and select Water Damage, Fire & Smoke Damage, Mold Removal, Trauma & Biohazard Cleanup, or Others. Describe the source, discovery time, affected rooms, and any known electrical or contamination hazards.
Keep your readings, photographs, and dates together. That record helps guide repairs and supports an insurance review without implying that any particular loss will be covered.
Restore Heroes offers inspection, water extraction, structural drying, and moisture verification for Phoenix-area properties. Visit Restore Heroes to request a free inspection and discuss which tools and restoration steps your property needs.