
The worst-looking part of a wet hardwood floor is often not the core issue. A kitchen sink line can fail before dawn, someone can towel up the puddle, and by breakfast the boards already feel tight, discolored, or slightly cupped. That's when people start pushing more fans at it, turning up the heat, and hoping the floor “just dries out,” even though too much drying, too fast, can make the damage worse.
In Phoenix, this happens after the usual suspects, burst refrigerator lines, washer hoses, AC condensate pan overflows, and monsoon-driven window or roof leaks. Hardwood reacts fast because it's hygroscopic, so it takes on moisture from the room and the subfloor almost immediately. The first day is where the outcome gets decided, and the hidden moisture below the surface matters more than the water you can see.
Those First 24 Hours After Water Hits the Floor
A homeowner in Phoenix usually notices the problem in a hurry, sometimes from a sagging dishwasher toe-kick, sometimes from a dark line spreading under a cabinet, sometimes from a soft spot near a hallway vent. The visible puddle gets attention first, but the floor can still be moving moisture into the subfloor long after the surface looks handled. That's when cupping, black staining, and later mold start to show up, not because the room stayed flooded, but because the damp materials under the boards never got stabilized.
The first hour should be about stopping the source and keeping the damage from spreading. A small leak from an appliance can turn into a much larger restoration if water keeps feeding the floor under baseboards and transition strips. If you've already got one of the newer water alarms in place, a quick read on Axis Meter Solutions water alarm tips can help reinforce why early detection matters so much in homes with concealed leaks.
What changes fast and what doesn't
Hardwood doesn't wait politely for the weekend. Once water reaches the seams, the boards start reacting across the surface and beneath it, and the subfloor can stay wet even after the top feels dry to a hand. That's why the first 24 hours are less about appearances and more about limiting how far the moisture travels.
Stop the source, then stabilize the room, then think about drying.
That simple order matters. If the water is still coming in, or if you keep opening and closing doors in a way that lets humid air keep cycling through the room, you're making the drying job harder before it even starts.
For Phoenix homes, that first-day checklist should stay simple. Get the source under control, limit foot traffic, and start documenting what the floor looked like when you found it. The emergency water damage response process is most effective when the homeowner acts early, because the technician can work from a stable starting point instead of chasing changing moisture.
Immediate Actions to Take Before Equipment Arrives
The first job is to stop the water if you can do it safely. Shut off the supply valve, or the main water shutoff if the leak is bigger than a single fixture. If water is near outlets, appliances, or the breaker area, kill power to the affected rooms before anyone starts moving wet items around.
After that, clear the floor. Pull up rugs, move electronics, and get anything absorbent off the hardwood before it starts wicking water deeper into the boards. Furniture should come off the floor too, and if you can't move it out of the room, get it up on foil-covered blocks or aluminum tabs so the legs don't stain the wood or trap moisture underneath.
Keep the surface from becoming the trap
Baseboards and transition strips can hide water migration, so they deserve a look early. If a small area is clearly trapping moisture, a technician may pop a sacrificial board or open a path at the edge so the moisture under the floor can escape instead of staying sealed in place. That's a job for controlled removal, not brute force.
Don't scrub a prefinished floor hard, don't soak it with harsh chemicals, and don't run a household vacuum over standing water. Those moves can force water deeper, spread contamination, or damage the finish before drying even begins.
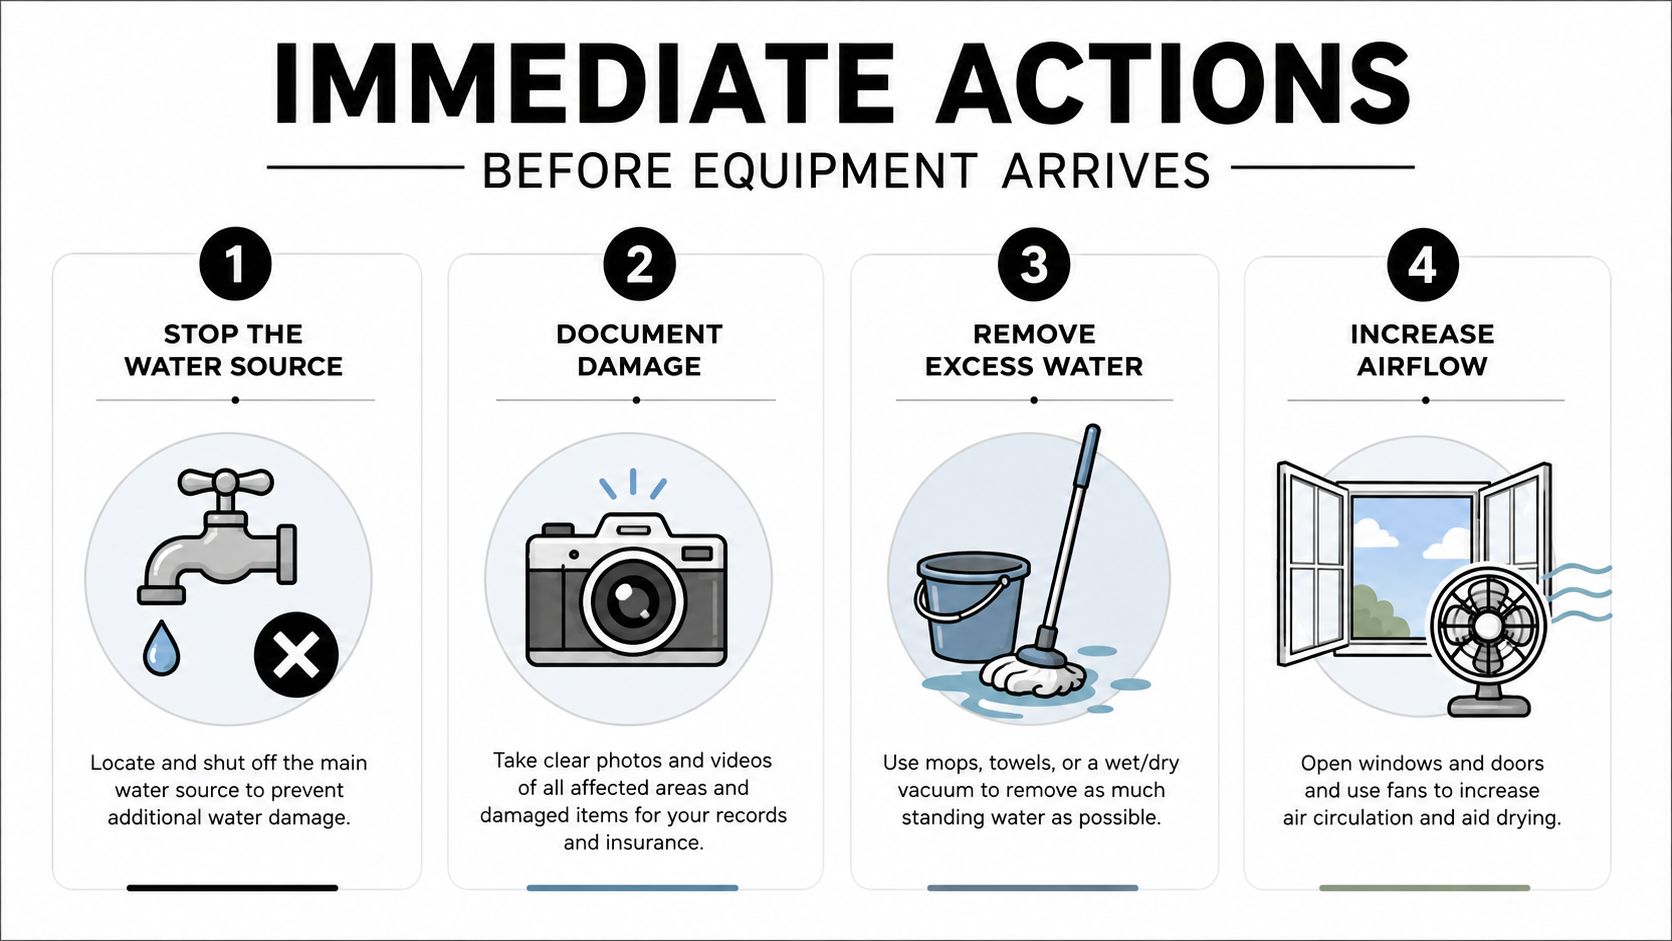
A good first-hour mental checklist is simple. Stop the source, move what can wick moisture, and open the path for air and extraction. The water damage mitigation process works best when those basics are handled before equipment shows up.
Choosing the Right Drying Equipment for Hardwood
Once the standing water is out, equipment choice starts to matter a lot. A household fan and a rental dehumidifier can help in a dry room, but they're rarely enough for a hardwood loss that has reached the plank seams or the subfloor. The right setup usually combines extraction, floor-specific drying, dehumidification, and controlled airflow.
Match the tool to the floor
Professional crews often start with high-volume extraction to remove what's still sitting on the surface. From there, specialty floor-drying mats or negative-pressure systems pull moisture from between and under the boards, which is especially useful on glued-down or engineered floors. A standard fan can move air across the surface, but it can't reach the moisture that's trapped lower in the assembly.
That's where the attachment method starts to matter. In the restoration science test, true hardwood flooring systems dried at a time factor of 1.0, the same as plywood's baseline of 1.0, while high-quality engineered wood was slower at 1.6 and bamboo and low-quality engineered wood were both 1.8. In the same test, nailed over tar paper wood dried at 1.3, direct-nailed wood at 1.6, and glued wood at 1.8. The study defined dry as moisture readings within four percentage points of the dry standard for that floor assembly, which is why the floor type and fastening method shape the whole job. Restoration Science Academy wood floor test
Why the stack matters
A floor-drying mat system is often the cleanest answer when moisture has migrated beneath the surface. Negative-pressure systems can also work well, especially when the crew needs to draw moisture from a specific cavity. LGR dehumidifiers are there to keep the room's air dry enough that evaporation keeps moving instead of stalling.
For container-style spaces and other enclosed environments, moisture control can become a similar problem of pulling damp air down at the source, which is why a product page such as browse container condensation control is a useful reminder of how much the air inside a closed space can influence materials. On a hardwood loss, the idea is the same, the room has to stay dry enough for the floor to keep giving up moisture.
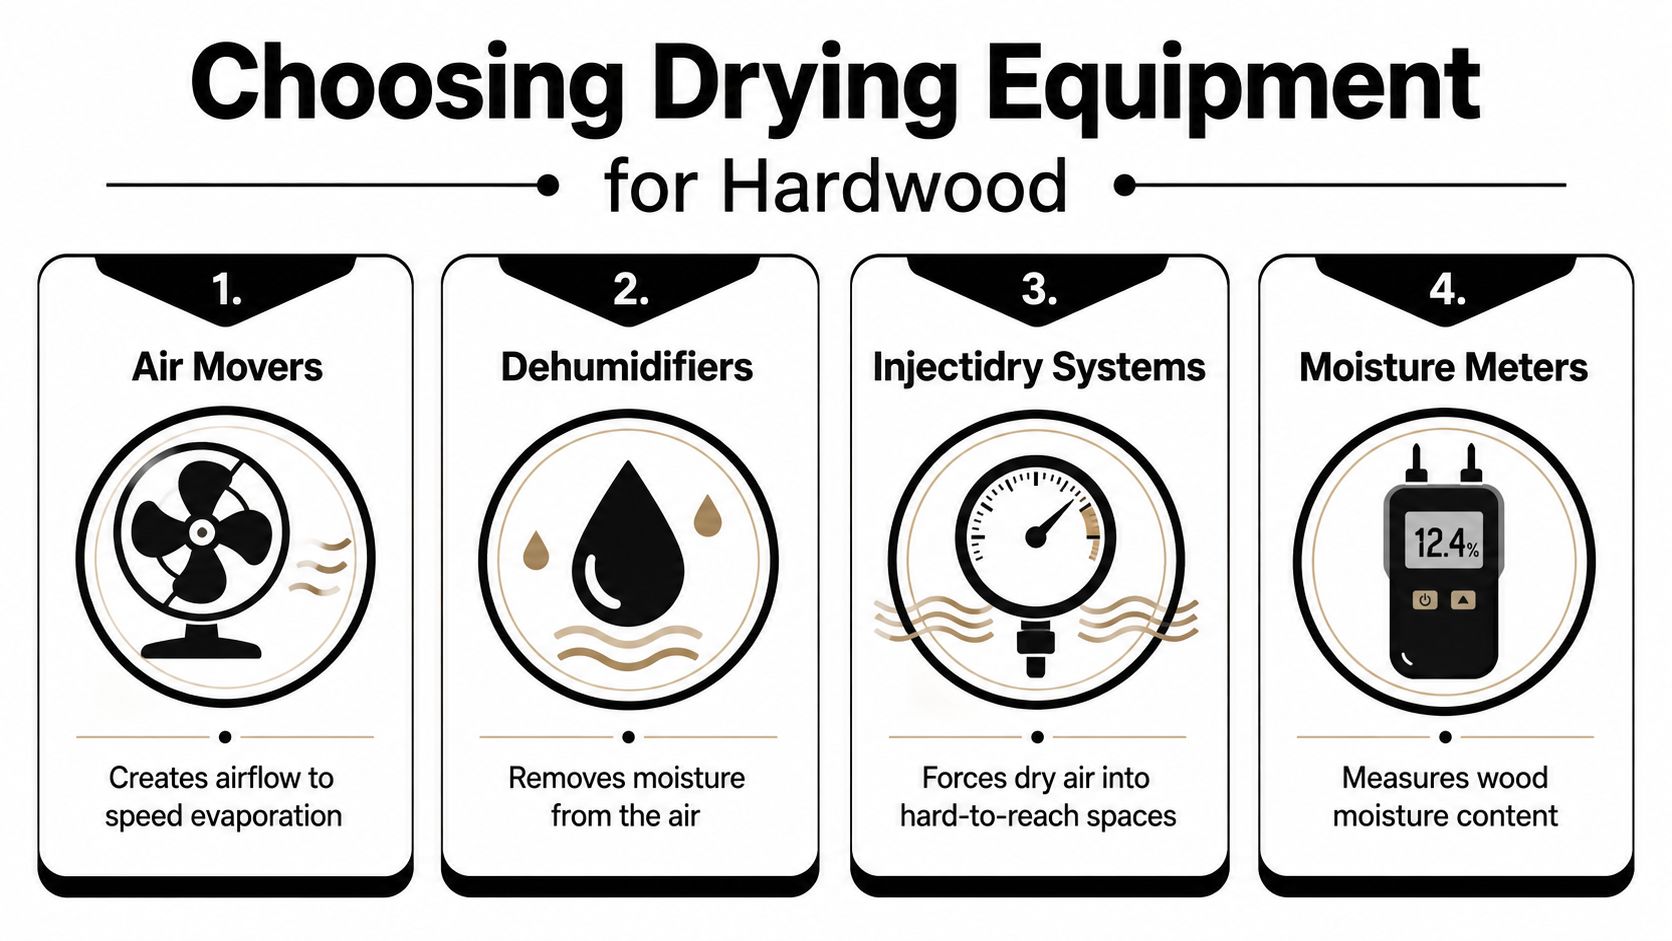
A strong rental strategy for hardwood usually includes floor mats or a negative-pressure setup, plus an LGR dehumidifier and air movers set to push air across, not blast straight down. The water damage fans guide fits into that same logic, airflow should support drying, not create new problems.
Why Drying Too Hard Can Hurt the Floor
Hardwood doesn't just get wetter and then return to normal when you attack it with more heat. It moves with the moisture around it, and in a dry place like Phoenix that can cut the other way if you get aggressive. Pull the floor too far below its normal range and you can create new gaps, splintered edges, and finish damage that wasn't there when the leak started.
Controlled drying beats brute force
A trained technician aims for a room that stays around 40% to 50% relative humidity and roughly 70 to 80°F, because that gives evaporation a chance without over-stressing the wood. A restoration training guide also notes that every 20°F increase in air temperature approximately cuts relative humidity in half, and that the dehumidification rate must exceed the evaporation rate for structural drying to keep moving. It also says the material surface temperature should stay above the air's dew point to avoid condensation. Fusion Carpet Care ASD/WRT study guide
That's the part homeowners usually miss. More heat doesn't automatically mean better drying, and fans aimed hard at cupped boards can make the top dry faster than the underside. One industry warning specifically says not to point fans straight at cupped floors because the surface can set while the lower side stays wet, which can worsen the deformation.
Dry the room, not just the top of the boards.
That's the practical rule. If the room air is too dry too fast, the boards can shrink before they've equalized, and that's when the floor starts showing fresh movement after you thought the problem was handled.
What over-drying looks like
You'll know the drying job is going too hard if the gaps widen, the finish starts looking bleached or chalky, or the board edges start to feel sharp and papery. In Phoenix, where indoor air can already be dry for long stretches, that risk is real even on a room that seems like it should “dry faster.” The goal is stable wood, not just dry air.
Measuring Moisture and Knowing When the Floor Is Truly Dry
A hardwood floor can look finished long before it's stable. Surface dryness only tells you that the top layer has given up some moisture, not that the boards and subfloor have reached the same place. That's why meter readings matter more than appearance, especially after the first day.
Use the floor itself as the reference
Technicians compare affected boards to unaffected boards in the same house, because those healthy areas show what the floor wants to be in that conditioned space. For hardwood in a conditioned interior, the practical target is about 6% to 9% moisture content, and the subfloor is ideally within about 2% to 4% of the finished floor's reading. The moisture meter reading guide is a useful reference point for homeowners trying to make sense of those numbers.
Read the numbers, not the guesswork
Pin meters and pinless meters both have a place. The important thing is consistency, not brand loyalty. Take a reference reading from a dry area, then keep checking the wet zone at least every 24 hours so you can see whether the floor is trending down or stalling. On a real job, that log should include photos, meter readings, and equipment settings, because those notes matter later if an adjuster wants proof of drying progress.
| Indicator | Target Reading | Warning Sign |
|---|---|---|
| Finished hardwood moisture content | About 6% to 9% | Readings staying above the normal interior range |
| Subfloor moisture content | About 2% to 4% of the finished floor's reading | Subfloor still reading noticeably wetter than the floor |
| Monitoring interval | At least every 24 hours | No progress from one day to the next |
| Dry standard | Within four percentage points of the dry standard for that assembly | Surface feels dry, but the meter still shows a gap |
Why this paper trail matters
Relative humidity and material moisture content are not the same thing, and mixing them up leads to bad calls. A room can feel comfortable while the wood is still wet, or feel very dry while the floor hasn't equalized. The meter tells you when the wood is stable.
Repair or Replace After the Floor Is Dry
Once the wood is dry, the decision shifts from drying to damage assessment. The call usually comes down to how long the water sat, whether the floor is solid hardwood, engineered wood, or another product, and what the boards look like after they have had time to equalize. A floor that dries evenly and returns to its original shape can often stay in place. A floor that keeps moving, staining, or separating needs a harder look.
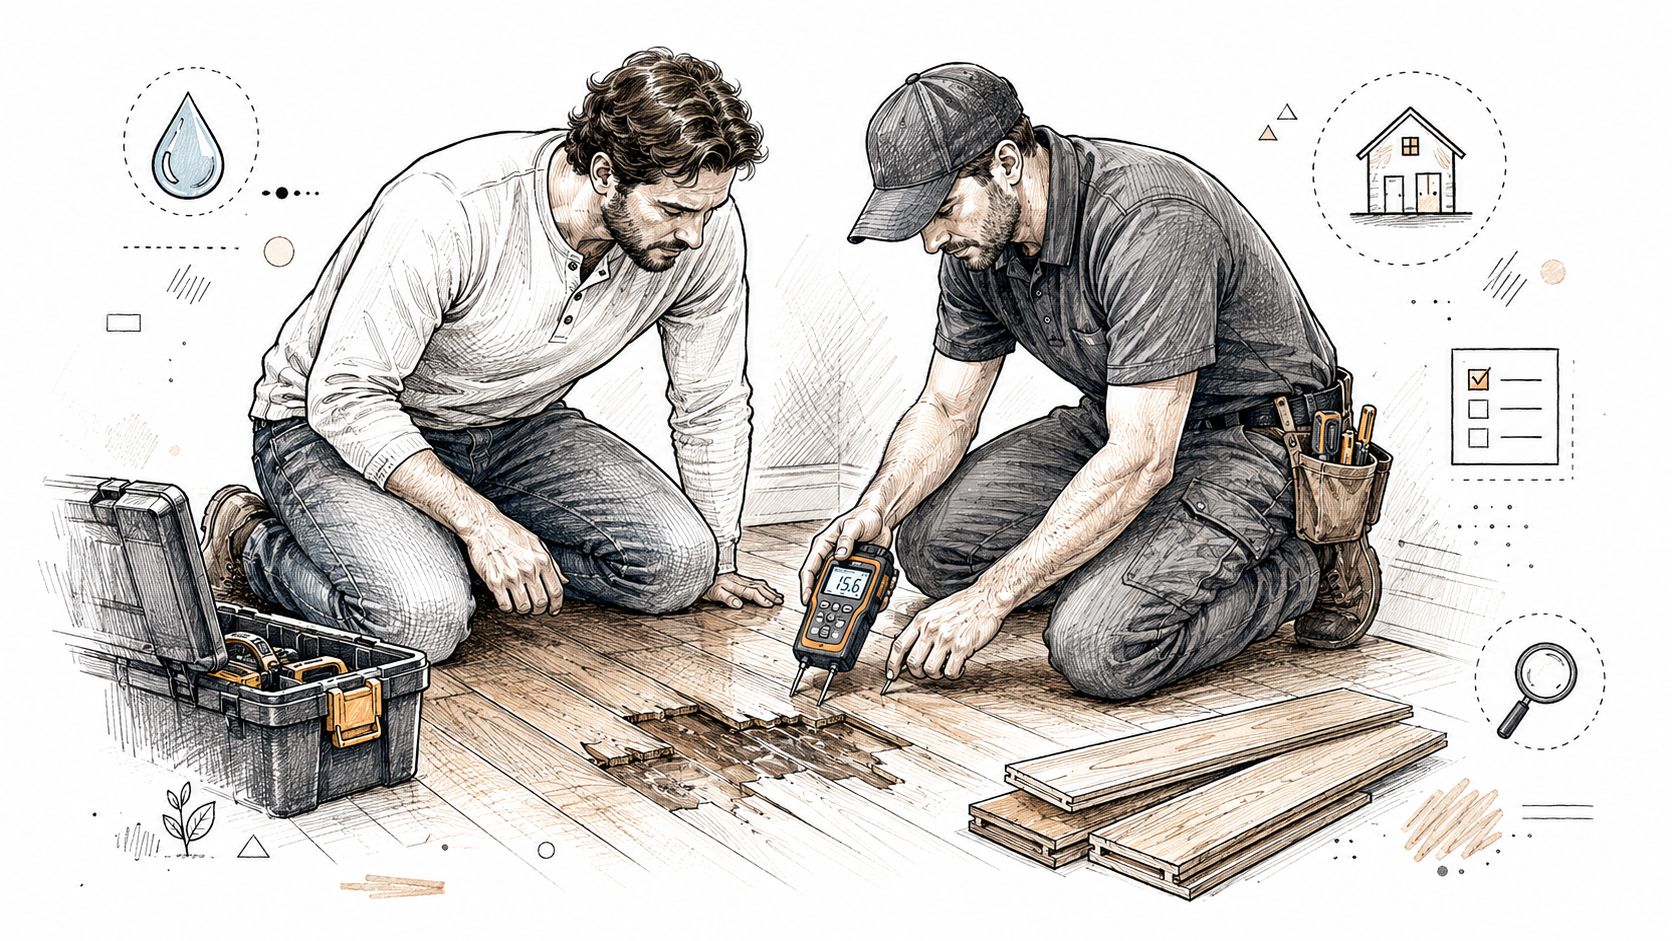
Cupped boards often relax after the trapped moisture leaves the assembly. Sanding too soon can lock in the cupping before the wood has finished moving, and that creates more work later. Dark staining, fuzzy growth along the edges, or boards that stay crowned or bowed after drying usually point to damage that goes past a simple finish repair.
What usually stays, what usually goes
A floor with light cupping and finish damage can often be refinished once moisture readings are stable and the wood has settled. That is the better path when the surface is sound and the boards have not split or loosened. If only a few boards are permanently stained, split, or raised at the seams, selective board replacement may solve the problem without opening up the whole room.
When the subfloor has stayed wet, the situation changes. Delamination, warped sections, or soft spots underfoot usually mean the damage is deeper than the top layer, and patching the surface alone will not hold. In those cases, replacement becomes a structural decision, not just a cosmetic one.
Phoenix homes add their own complications. Slab-on-grade construction can hold moisture longer than homeowners expect, and the shift between monsoon humidity and very dry indoor air can make boards move again if they are refinished before they have settled. The floor needs to prove it is stable over time, not just look calm for one afternoon.
If the source was a plumbing failure, the floor decision only makes sense after the leak is fixed. An emergency slab leak repair crew shows why the plumbing side has to be handled first, because no wood repair will last if water is still coming in. The same applies here. Stop the source, confirm the floor has stabilized, then decide whether repair or replacement is the right call.
For a local response that includes the full drying and repair process, the water damage restoration contractor page explains what a Phoenix homeowner should expect from a restoration team.
When DIY Ends and Professional Restoration Begins
Some hardwood losses stay manageable with fast homeowner action and a solid equipment rental. Others move past the point where a fan, a shop vacuum, and a good guess can protect the floor. The dividing line is usually water category, area size, how long the water sat, and whether you can reach the subfloor.
The signs that point to a pro crew
Clean supply-line water is one thing. Water from a dishwasher overflow, an AC pan issue, or anything that has sat long enough to soak into concealed areas is a different call because contamination and hidden moisture become part of the job. Solid hardwood, engineered wood, and bamboo also behave differently, so the floor type matters before anyone decides on a drying plan.
A true restoration response should include moisture mapping, extraction, controlled drying, sanitation where appropriate, and verification readings at the end. That's the process adjusters expect to see documented, and it's the process that gives the floor a real chance of staying in service instead of being guessed at from the surface. If you need a local contractor, the water damage restoration contractor page explains the kind of response a Phoenix homeowner should expect from a restoration team.
What to gather from minute one
- Photos and timestamps: Capture the leak source, the spread of water, and the condition of the boards before anything gets moved.
- Moisture readings: Keep the numbers from each day, along with the room where they were taken.
- Equipment settings: Note dehumidifier and air mover placement, because that shows the room was being managed.
- Contractor notes: Save every inspection note and any instructions about boards, baseboards, or transition strips.
Restore Heroes is a licensed, bonded, insured, and IICRC-certified restoration company serving the Phoenix metro area, and it handles water extraction and drying as part of its broader remediation work. For homeowners who need one local team to document the loss, stabilize the room, and coordinate the next step, that kind of response can keep the process from dragging out.
The practical call is simple. If the floor is large, the moisture is hidden, or the leak sat long enough to change the boards, it's time to bring in a professional restoration team instead of hoping the floor self-corrects. If you're dealing with wet hardwood in the Phoenix area, take the next step now and visit Restore Heroes for local water damage help, moisture control, and structural drying support.