
You notice the water bill is higher than usual, but nobody in the house has changed their routine. A few days later, you spot a faint ceiling stain or catch a musty smell near a hallway wall. After a trip, you return to a damp cabinet, a soft patch of flooring, or the quiet sound of water running when every faucet is closed.
That's the frustrating part of a hidden plumbing leak. The visible damage often appears somewhere other than the actual failure point. Good plumbing leak detection means more than finding wet materials. It means confirming that water is escaping, tracing it back to its source, judging how much damage it has caused, and choosing a response that doesn't create unnecessary demolition.
How a Small Drip Becomes a Big Problem
A small leak rarely announces itself at the beginning. It may sit behind a cabinet, under a slab, inside a wall, or at a toilet connection where the surrounding area stays just dry enough to escape notice. By the time paint bubbles or flooring warps, the building materials may have been absorbing moisture for some time.
The U.S. Environmental Protection Agency says the average home's leaks waste more than 10,000 gallons of water each year, while household leaks across the country waste more than 1 trillion gallons annually. The EPA compares that national loss with the annual household water use of more than 11 million homes, which puts a familiar household problem into perspective. The EPA's leak guidance also says 10% of homes have leaks wasting 90 gallons or more per day.
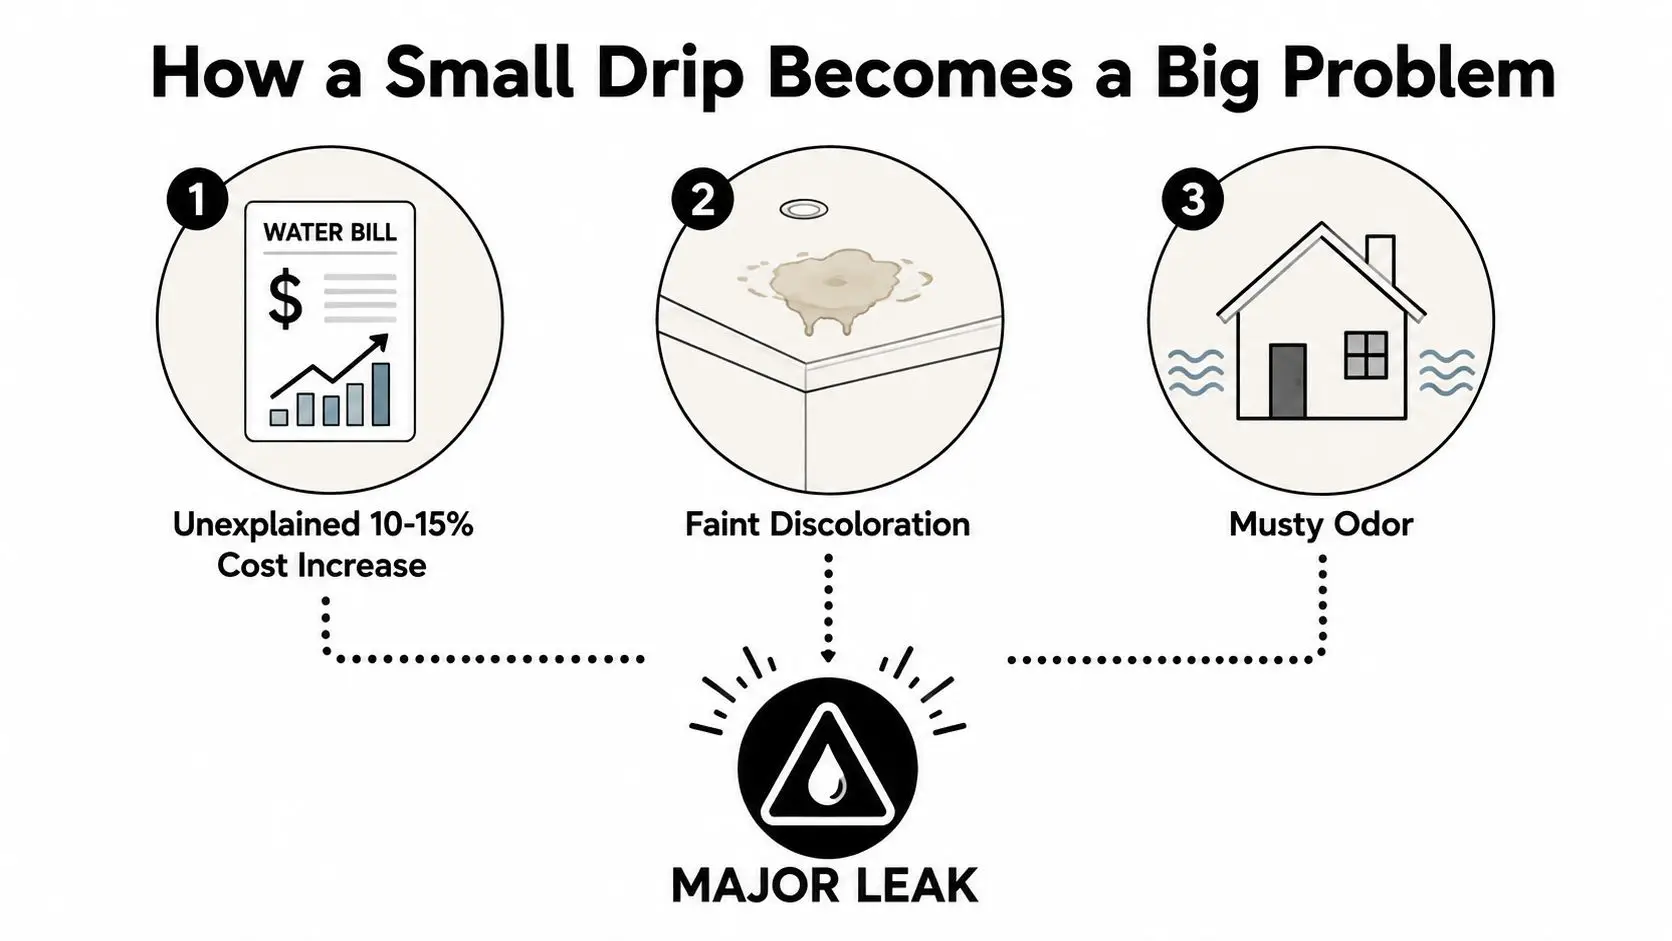
Start with the clues
A single sign doesn't always prove a plumbing failure. A ceiling mark may come from an old event, a musty odor may come from condensation, and a high bill may reflect outdoor watering. The useful question is whether several clues point toward the same water source.
Look for:
- Unexplained water use: The meter moves when the property should be quiet, or the bill rises without an obvious change in routine.
- Material changes: Drywall stains, peeling paint, swollen trim, cupped flooring, or soft cabinet bases deserve attention.
- Sound and odor: A faint hiss, intermittent drip, or persistent musty smell can reveal moisture hidden from view.
- Temperature changes: A warm or cool spot on a floor can indicate water moving below a slab, although temperature alone doesn't identify the source.
Homeowners can learn to check these clues without taking walls apart. A useful visual reference is this guide to signs of water damage on a ceiling, especially when discoloration appears below a bathroom, laundry area, or mechanical space.
Practical rule: Treat unexplained moisture as evidence to verify, not as a stain to cover.
Early detection gives you more choices. You may be able to repair a fitting before water reaches insulation, flooring, or drywall. The process begins with a simple goal: determine whether water is escaping, then locate the path it's taking.
What Plumbing Leak Detection Actually Means
Plumbing leak detection is the process of finding the source and extent of unwanted water. It has three parts: confirm that a leak is real, locate the failed component or line, and determine whether nearby building materials have absorbed moisture.
That distinction matters because water often travels. A loose supply connection under a sink may wet the cabinet floor, run along framing, and leave a stain several feet away. A slab leak can migrate through concrete or flooring before it becomes visible. The wettest spot isn't automatically the failure point.
Read the visible and invisible signs
Visible clues include dripping pipes, damp cabinet interiors, swollen wood, warped flooring, peeling paint, and staining on ceilings or walls. Mold growth can also indicate a persistent moisture problem, but surface growth doesn't reveal whether the source is a plumbing line, humidity, or an earlier spill.
Invisible clues often appear first. Listen for a running meter or a faint hiss when all fixtures are off. Notice low water pressure, unexplained changes in hot-water behavior, warm areas on a floor, or an odor that returns after cleaning. None of these clues proves a specific failure by itself, so the next step is controlled testing.
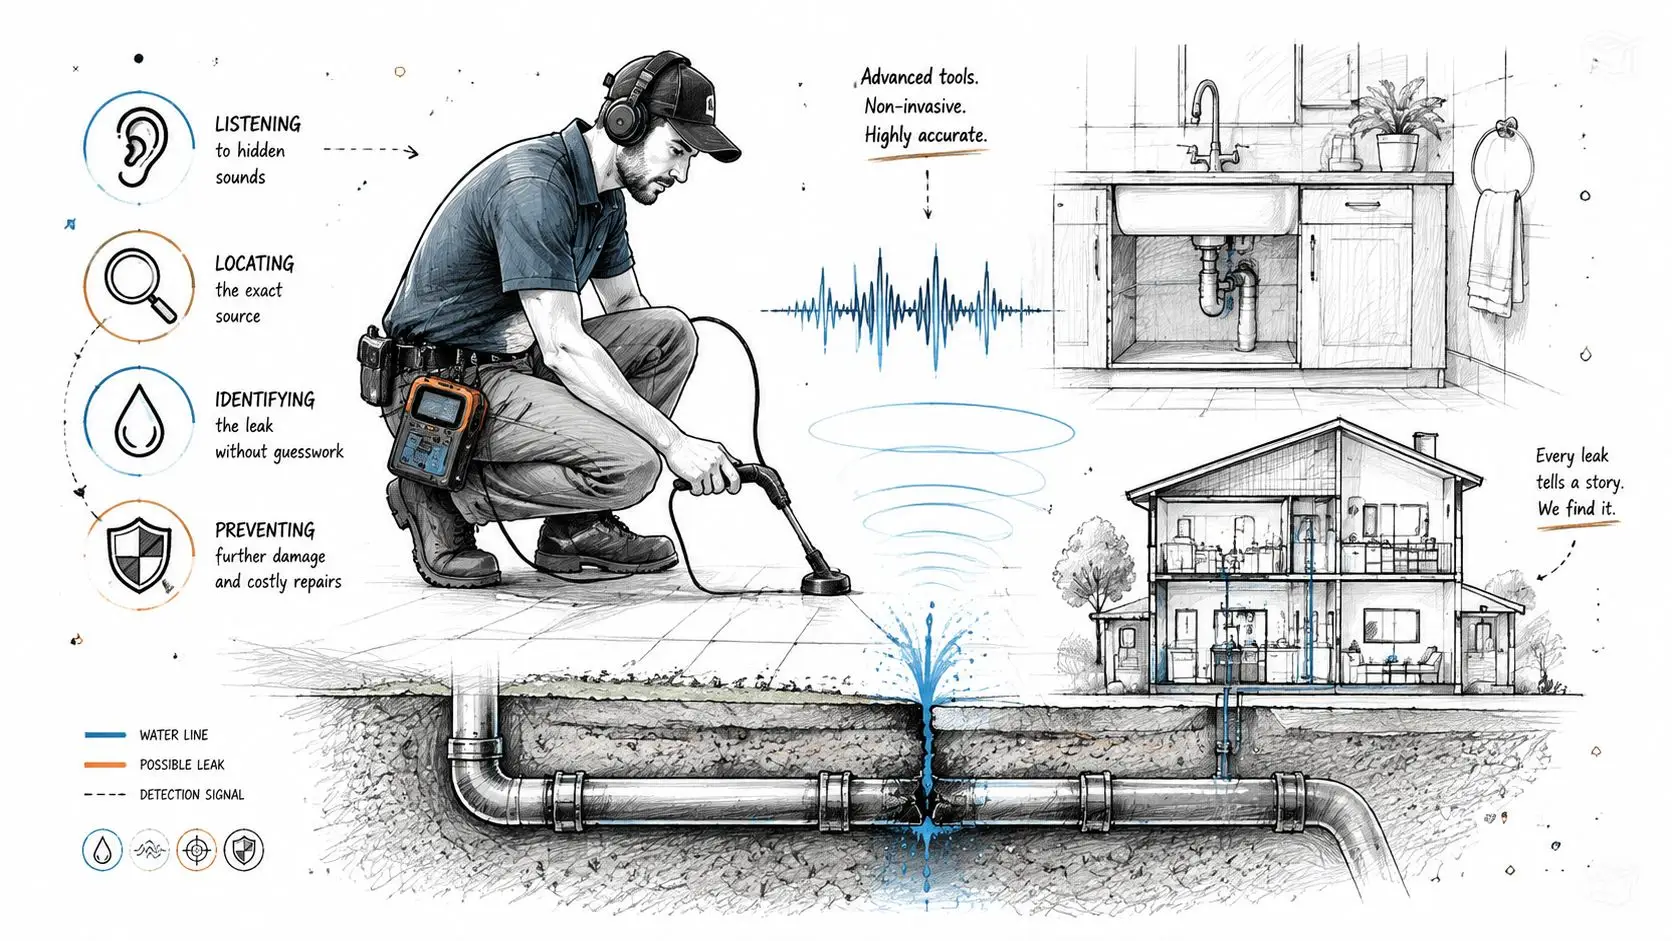
A reliable inspection separates where water is showing from where water is entering the structure. That may require checking fixtures, supply lines, irrigation, drains, and pressurized sections independently. Homeowners who want broader guidance on water quality and household plumbing can also consult the Water Filter Advisor advice hub, while a local inspection resource can explain what leak detection services typically investigate.
The practical target isn't “find water.” It's find the source, validate the evidence, and avoid guessing. That approach reduces unnecessary cutting into walls or flooring and helps the repair professional work from useful information instead of assumptions.
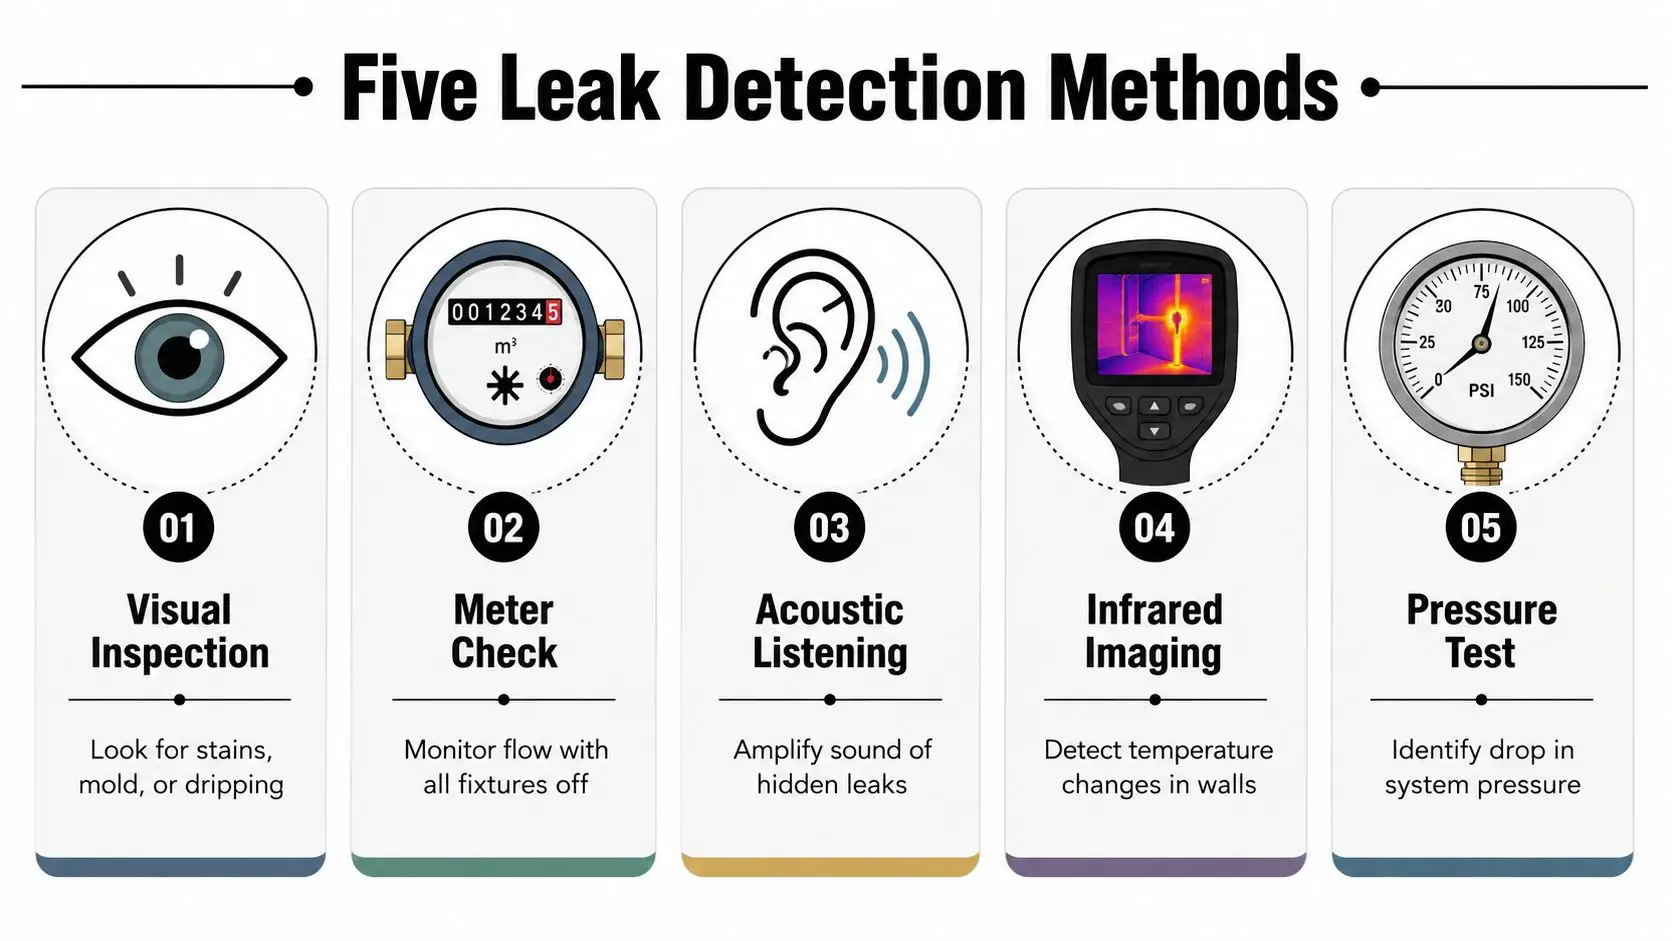
Five Detection Methods Explained
Different leaks produce different clues. A visible drip may need only a flashlight and a careful inspection, while a buried pressurized line may require acoustic equipment, thermal imaging, or a controlled pressure test.
Visual inspection
This is the starting point. Check exposed supply lines, shutoff valves, toilet bases, appliance hoses, water heaters, cabinets, ceilings, and flooring transitions. Look for active droplets, mineral deposits, rust, swelling, discoloration, and fresh condensation.
Visual inspection works best when the leak is exposed or has already affected a nearby surface. It becomes less reliable when water travels inside a wall or below finished flooring.
Meter checks
A meter check looks for water movement while fixtures and appliances are inactive. If the reading changes during a controlled period, the property may have an active leak. This test confirms ongoing flow, but it doesn't identify the damaged pipe or tell you whether irrigation is responsible.
Acoustic listening
Pressurized water escaping through a crack creates turbulence, noise, and vibration. Acoustic equipment works much like a stethoscope placed against a pipe, amplifying signals that may be too faint for normal hearing.
Acoustic leak detection has been used for decades and remains the dominant technical approach for pressurized water pipelines. Research on vibro-acoustic systems reported leak/no-leak classification accuracy above 94%, with the best model reaching 94.63% to 98.51%, depending on sensor type. The engineering research on acoustic pipeline detectionPS.1949-1204.0000089) shows why trained analysis can improve on manual listening alone. In-pipe hydrophones can complement external sensors by bringing the microphone closer to the signal source.
Infrared imaging
A thermal camera doesn't see water directly. It detects temperature patterns on surfaces. A concealed leak may create a cooler or warmer footprint when water changes the temperature of surrounding materials.
Thermal imaging is useful for screening walls, ceilings, and floors, but an image still needs interpretation. HVAC airflow, insulation gaps, sunlight, and building materials can create similar patterns. Thermal imaging inspection is most useful when combined with moisture readings and other evidence.
Pressure and tracer tests
Pressure testing treats the plumbing system like a tire. Isolate the relevant section, apply an appropriate test condition, and watch for pressure loss. The EPA's standardized pipeline procedure uses 20 psi as the standard pressure for defining a leak rate in most systems, with an exception for certain 3-gal/h hourly testing systems that use 10 psi. The EPA procedure also ties the leak threshold to the flow rate at which the system signals a leak.
Testing must stay within the system's design limits. A polyethylene pressure-piping technical note says the maximum permissible test pressure is the lower of 150% of the pipe system's design pressure rating or the rating of the lowest-rated component in the test section. The technical note on polyethylene leak testing reinforces a field rule: never apply pressure merely because the equipment can produce it.
A combination often gives the clearest answer. Meter testing may confirm flow, acoustic listening may narrow the area, and thermal or moisture mapping may show which materials require drying.
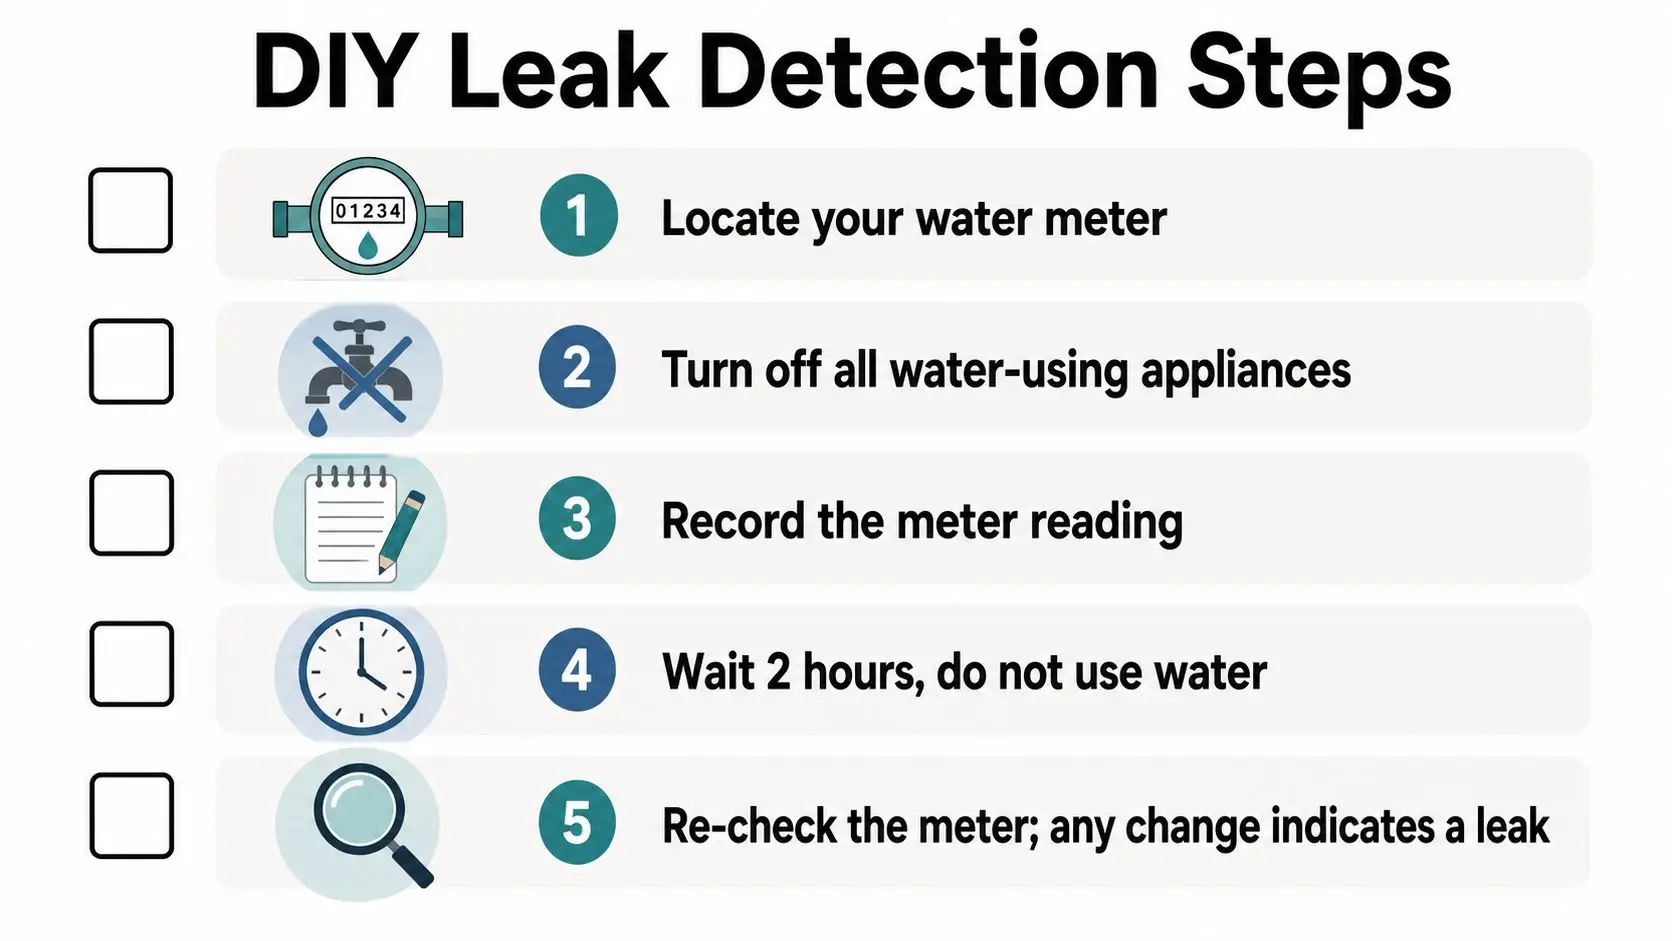
Simple DIY Checks You Can Run Today
Start with tests that are safe, reversible, and useful. Don't remove flooring, drill into walls, or open electrical equipment to chase a suspected leak. If water is near an outlet, appliance wiring, or an electrical panel, keep clear and arrange qualified help.
1. Check the water meter
Turn off faucets, showers, washing machines, dishwashers, ice makers, and other water-using equipment. Make sure toilets aren't refilling, then record the meter reading and observe the indicator. If your property has irrigation, isolate that system or account for its normal schedule.
The meter can tell you whether water is moving during the test. It can't tell you whether the source is a toilet, service line, irrigation pipe, or hidden branch line.
2. Test toilets with dye
Place food coloring in the toilet tank, not the bowl, and wait without flushing. If color appears in the bowl, the flapper or another tank component may be allowing water to pass.
Toilets deserve attention because a small continuous leak can waste far more water than the occasional drip suggests. The EPA's WaterSense at Work guidance says a toilet leaking at 0.02 gallons per minute can waste 860 gallons per month, while a 0.2 gallons-per-minute leak can waste 8,600 gallons per month. The EPA commercial leak detection guidance provides those benchmarks.
3. Inspect accessible connections
Use a flashlight under sinks and behind appliances. Check supply hoses, shutoff valves, dishwasher connections, washing machine hoses, refrigerator lines, and water heater fittings. Feel only dry, accessible surfaces, and don't disturb a connection that's actively spraying.
4. Check outdoor water use
Inspect hose bibs, visible irrigation valves, sprinkler heads, and areas of unusually lush or sunken landscaping. An irrigation leak can imitate a household plumbing leak because it may raise water use while the indoor fixtures appear normal.
5. Record what you find
Take photographs, note when the meter moved, and write down which fixtures you tested. A clear record helps a plumber or restoration technician validate the alert instead of repeating every basic check. A broader plumbing inspection checklist can help organize the information.
For property owners dealing with active moisture, practical restoration guidance such as water damage restoration in Bellingham can also clarify why extraction and drying are separate from the plumbing repair itself. If the meter moves and you can't identify an accessible fixture, stop the test and arrange professional diagnosis.
Knowing When the Problem Is Bigger Than a Wrench
A worn toilet flapper, loose compression fitting, or damaged appliance hose may be a straightforward plumbing repair. The situation changes when water has reached drywall, insulation, subflooring, cabinetry, or flooring. At that point, fixing the pipe stops the source, but it doesn't remove the moisture already inside the structure.
Phoenix-area homes need careful attention to concealed leaks because slab foundations can place plumbing below concrete and finished floors. Aging components, irrigation systems, and weather-related pressure changes can add uncertainty about where water is entering. A warm floor, persistent odor, soft drywall, or expanding stain deserves more than a quick wipe-down.
Use the damage, not just the pipe, to choose the response
Call for specialized help when you can't isolate the source, when water is actively spreading, or when the affected area includes electrical systems or contaminated water. Professional assistance also makes sense when the leak sits beneath a slab, inside a wall, or under flooring that you don't want to remove blindly.
Mold risk increases when materials stay damp. Structural materials can swell, delaminate, stain, or lose their finish, and hidden moisture may remain after the visible surface looks dry. A restoration assessment focuses on moisture mapping and drying, while a plumber focuses on repairing or replacing the failed plumbing component.
Finding the pipe is only half the job. The other half is proving that the structure is dry.
A confirmed leak doesn't automatically mean a disaster. It means you should match the response to the evidence. Small, accessible failures may stay in repair territory. Saturated materials, hidden moisture, sewage, or uncertainty about the source move the problem into restoration territory.
What a Professional Restoration Company Brings
A qualified restoration team doesn't begin by cutting open the largest possible area. The process starts with an assessment of the water source, affected rooms, materials, and immediate safety concerns. Technicians may use moisture meters, thermal cameras, acoustic tools, and visual inspection to build a map of where water has traveled.
A typical visit
The sequence usually looks like this:
| Stage | What Happens | Why It Matters |
|---|---|---|
| Assessment | The technician documents visible conditions and asks when the water appeared. | Timing and source information help define the response. |
| Moisture mapping | Readings identify wet areas in walls, floors, ceilings, and other materials. | Moisture can extend beyond the visible stain. |
| Non-invasive detection | Equipment narrows concealed water or identifies unusual temperature and sound patterns. | Targeted access can reduce unnecessary demolition. |
| Extraction | Standing water is removed with appropriate pumps or extraction equipment. | Removing free water limits continued absorption. |
| Structural drying | Air movement and dehumidification support drying of affected materials. | Drying addresses moisture that extraction can't remove. |
| Cleaning and decontamination | The team cleans affected contents and surfaces based on the water category and materials. | Contaminated water requires more than ordinary surface cleaning. |
Certification matters because restoration involves more than operating fans. An IICRC-certified company should understand accepted procedures for water damage assessment, drying, cleaning, and documentation. Homeowners should also verify licensing, bonding, insurance, communication practices, and whether the company can coordinate with an insurer.
A company may offer a free onsite inspection, insurance coordination, or no upfront payment, but those terms vary by provider and situation. Pricing also varies. The final amount depends on the affected area, materials, access, water category, drying requirements, contents, and reconstruction scope, so no responsible company should promise a fixed price before assessing the property.
For a plain-language overview of the broader workflow, see what a restoration company does. Ask the provider what it will measure, what it will document, which materials it expects to dry or remove, and how it will confirm completion.
Key Takeaways and Your Next Move
Effective plumbing leak detection follows a practical order:
- Spot the clues: Watch for unexplained water use, stains, odors, sounds, and material changes.
- Run safe checks: Test the meter, inspect accessible connections, check toilets, and review irrigation.
- Validate the result: A moving meter confirms flow, but it doesn't identify the source.
- Escalate appropriately: Use professional detection when the leak is hidden, active, beneath a slab, near electricity, or damaging structural materials.
- Dry the property: Repairing the pipe doesn't remove moisture already absorbed by walls, floors, ceilings, or contents.
The earlier you confirm a leak, the more control you have over the response. You can avoid unnecessary excavation, limit water loss, and address moisture before it becomes a larger restoration problem.
Restore Heroes provides assessment, water extraction, structural drying, decontamination, and insurance coordination for residential and commercial properties in the Phoenix metro area. If your leak has caused visible or hidden water damage, visit Restore Heroes to discuss the next step with a restoration team.