That sinking feeling when you spot a dark stain spreading across your drywall is something no homeowner wants. Your mind immediately jumps to the worst-case scenario: black mold. Before you panic, let's talk about what you're actually seeing and how to properly identify it.
Is That Dark Spot on Your Drywall Really Black Mold?
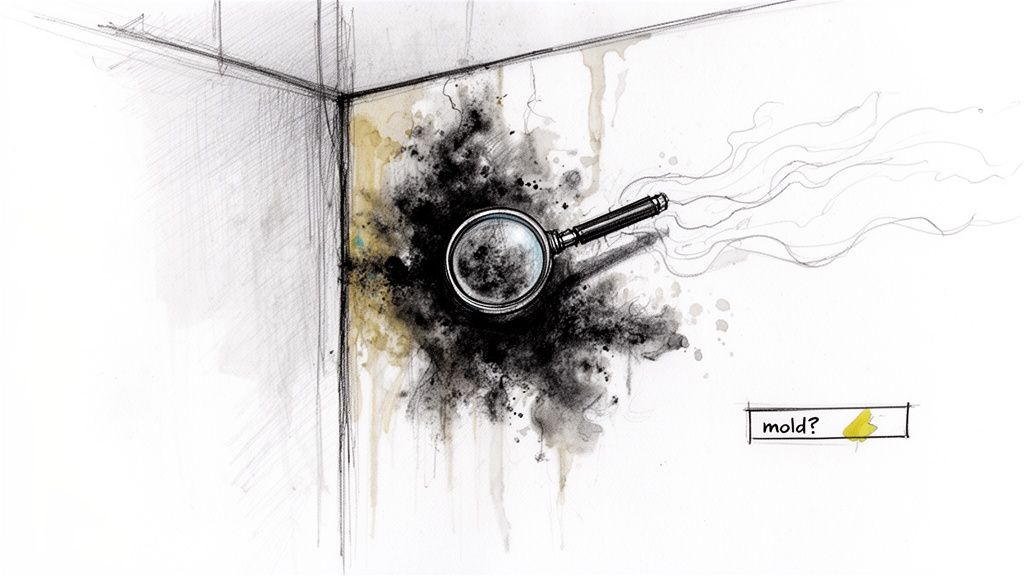
While that dark, fuzzy patch is definitely alarming, it’s important to know what you’re up against. The term "black mold" usually refers to Stachybotrys chartarum, a specific greenish-black mold that gets a lot of attention for its potential to produce mycotoxins. However, many types of mold can appear black.
The real issue is that drywall is a perfect food source for mold. It's essentially a gypsum sandwich with paper on both sides. When that paper gets wet from a hidden leak or high humidity, it's like setting out a buffet for mold spores.
Understanding the Signs of Mold Growth
Identifying a mold problem involves more than just your eyes. Sure, you're looking for those slimy, dark circular patches, but you need to engage your other senses, too.
On a painted wall, mold can make the paint bubble, crack, or peel away, revealing the darker growth hiding underneath. In more advanced cases, the drywall itself might feel damp, soft, or even crumble to the touch.
But the most telling sign is often the smell. Mold gives off a distinct, musty odor—think of damp soil or a wet basement. This smell is caused by microbial volatile organic compounds (MVOCs). If you walk into a room and are hit with that earthy smell, it's a huge red flag, even if you can’t see any visible mold yet.
A Pro Tip From the Field: It's surprisingly easy to get used to the smell of mold in your own home—a little something called "olfactory fatigue." If you have a suspicion but can't pinpoint the odor, ask a friend or neighbor to come over. A fresh nose can often detect a musty smell you've gone blind to.
Connecting Mold to Moisture Problems
Here's the most important thing to remember: mold is always a symptom of a water problem. You can scrub and clean all day, but if you don't find and fix the source of the moisture, that mold will likely come right back.
Finding the leak is the real detective work. Some of the most common culprits we see hiding behind drywall are:
- Slow-drip Pipe Leaks: A tiny, persistent drip inside a wall can go unnoticed for months while it slowly saturates the drywall.
- HVAC Issues: Condensation dripping from AC units or poorly insulated ductwork is a frequent cause of moisture.
- Roof and Window Leaks: Water that gets in from the outside can travel down the wall studs and collect at the bottom of the drywall.
- High Humidity: Poor ventilation, especially in bathrooms, kitchens, and basements, can push indoor humidity levels above the ideal 30-50% range, creating a perfect environment for mold growth.
Often, the problem in your wall is connected to issues elsewhere. To help you trace the source, our guide on the common signs of water damage on a ceiling can provide some valuable clues. Once you've nailed down the root cause, you're in a much better position to not just clean up the mold, but make sure it never returns.
Sizing Up the Mold Damage Before You Start
Before you even think about grabbing a scrub brush, you need to play detective. Rushing in without understanding the full scope of the problem is a classic mistake—one that can spread spores and turn a contained issue into a house-wide headache. Your first job is to assess the situation and figure out exactly what you’re up against.
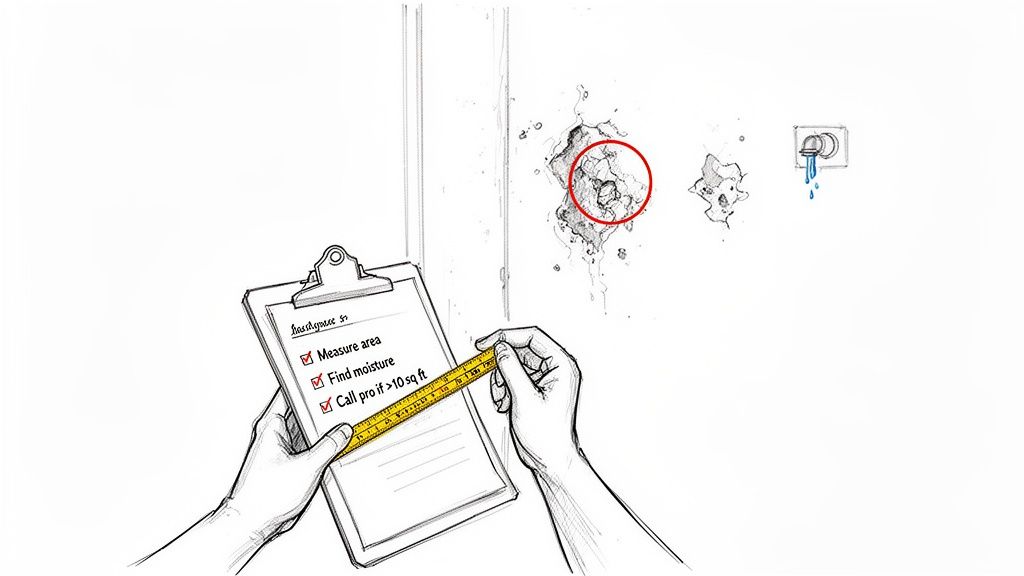
A good starting point is to measure the visible mold. This isn't just for kicks; it's a critical safety benchmark. As a rule of thumb, we in the industry often refer to the 10-square-foot rule. If the mold patch is smaller than roughly 3 feet by 3 feet, it's probably something you can tackle yourself, provided you take all the right safety precautions.
But if you’re looking at more than 10 square feet of growth, or if it’s popping up in several different spots, that’s your cue to stop. Put down the tools and call a professional. A large-scale problem requires specialized containment and air filtration to handle safely.
Find the Water Source
Mold is just the symptom. The real disease is moisture. If you clean the mold but don't fix the leak, it will likely be back. You have to cut off its water supply.
Start with the obvious. Is the mold under a leaky window? Is it on the other side of a shower wall? Check for slow drips from pipes, condensation, or old water stains on the ceiling. These are the usual suspects.
Sometimes the source is more subtle. High humidity from a poorly ventilated bathroom or kitchen can be enough to let mold get a foothold. Understanding how drywall gets wet in the first place is the key to solving the problem for good, not just for now.
Know When Cleaning Isn’t Enough
Beyond just the size of the mold patch, you need to check the condition of the drywall itself. This is what tells you whether you have a simple surface-level cleaning job or a more serious removal project on your hands.
Be on the lookout for these major red flags:
- It feels soft or spongy. Gently press on the wall around the mold. If it gives way, feels damp, or crumbles, the drywall is shot. Its structural integrity is gone.
- You see widespread water stains. Faint, yellowish-brown stains spreading out from the moldy spot are a dead giveaway that the water has soaked a much larger area than you can see.
- The paint is bubbling or peeling. This is one of the first signs of trapped moisture. The water is literally pushing the paint off the wall from behind.
- There’s a strong, musty smell. If that earthy, damp odor is noticeable throughout the room (or even beyond it), the mold is likely deep inside the wall cavity or has gotten into your HVAC system.
If you find any of these warning signs—especially soft, crumbling drywall—the material can't be saved. The conversation shifts from "how do I clean this?" to "how do I safely cut this out and replace it?"
The growing awareness of mold's health risks has fueled a huge expansion in the remediation industry. In 2023, the global market for these services was valued at USD 1,234.6 million and continues to grow. A huge chunk of that—35.7%, to be exact—is tied to drywall issues. Its porous paper surface is the perfect breeding ground for mold once moisture from a leak or flood gets introduced. You can read more about these market trends on Grand View Research.
Step 2: Gear Up and Set Up Containment
Before you even think about touching that moldy drywall, you need to treat the area like a hazardous zone. Why? Because the moment you disturb that mold, you'll release millions of microscopic spores into the air. This isn't just about cleaning a stain; it's about controlling a potential contaminant.
Think of it this way: a small, contained mold problem can quickly become a whole-house nightmare if you’re not careful. The spores travel through the air, get into your HVAC system, and find new places to grow. Protecting yourself and containing the workspace is the most critical part of this entire process.
Your Personal Protective Gear: The Non-Negotiables
Don't even consider skipping the PPE. Breathing in black mold spores can lead to some serious respiratory issues and allergic reactions. This is your absolute minimum line of defense.
- N95 Respirator: Forget about those flimsy paper dust masks. You need a properly fitted N95 respirator to stop microscopic spores from getting into your lungs.
- Safety Goggles: Spores can be nasty eye irritants. Get a pair of non-vented goggles that create a full seal around your eyes.
- Disposable Gloves: Go for heavy-duty nitrile or vinyl gloves that go past your wrists. You don't want them tearing midway through the job.
- Full-Body Coverage: Old clothes you can throw away are okay, but a disposable coverall suit is even better. This stops you from tracking spores through your home on your clothing.
This gear is your personal shield. It keeps the mold on the wall and out of your body.
Before you start any work, it's a good idea to have all your supplies gathered in one place. Here’s a quick checklist of the essentials you'll need for both personal safety and for keeping the work area isolated.
Essential Safety and Containment Supplies
| Item | Purpose | Why It's Critical |
|---|---|---|
| N95 Respirator | Filters out microscopic mold spores from the air you breathe. | Protects your respiratory system from irritation and allergic reactions. |
| Non-Vented Goggles | Shield your eyes from airborne particles and spore contact. | Prevents eye irritation, which is a common reaction to mold exposure. |
| Disposable Gloves | Keep mold and cleaning agents off your skin. | Prevents skin irritation and direct contact with harmful microbes. |
| Coverall Suit | Prevents spores from settling on your clothes and being tracked elsewhere. | Stops cross-contamination to other areas of your home. |
| 6-mil Plastic Sheeting | Creates a physical barrier to contain the work area. | Isolates the room, preventing spores from spreading via air currents. |
| Painter's Tape | Secures the plastic sheeting to create an airtight seal. | Ensures no gaps for spores to escape through doorways or vents. |
| Box Fan | Creates negative air pressure to vent spores outside. | Actively pulls contaminated air out of the room, not into the rest of the house. |
Having these items ready beforehand makes the process smoother and, more importantly, much safer.
How to Create a Secure Containment Zone
With your protective gear on, the next step is to protect your home. You need to build a containment zone that completely isolates the moldy area from the rest of your house.
First, and this is crucial, shut down your HVAC system. If your heat or AC kicks on while you're working, it will suck up all those airborne spores and blast them into every room through the ductwork. You absolutely want to avoid that.
Next, seal off the room. Use 6-mil plastic sheeting and painter's tape to cover any doorways, vents, or other openings. You're trying to create an airtight bubble. If the mold patch is small, you might just build a smaller containment area around that specific wall. This approach is also key when you need to figure out how to treat mold on basement walls, since those spaces often have unique airflow challenges.
A Pro Tip From the Field: On our professional jobs, we use a negative air machine. It’s a high-powered fan with a HEPA filter that sucks air out of the containment zone, scrubs it clean, and vents it outside. This creates negative pressure, meaning air flows into the workspace but not out, trapping all the spores inside.
You can create a makeshift version of this yourself. Set a box fan securely in a window inside the containment zone, facing out. This will help pull the air (and the spores) out of the house instead of letting them drift into other rooms.
Once you’re fully geared up and the area is sealed tight, you’re ready to actually get to work on the mold itself.
A Practical Process for Removing Moldy Drywall
You’ve got your containment zone sealed and your safety gear on—now it's time to get to work. Remember, this isn't a race. Rushing the removal process can send a cloud of invisible spores flying, undoing all the careful prep work you just did.
Just to be clear, this guide is for situations where the drywall itself is compromised. If you just have a bit of surface mold on the paint and the wall behind it is still rock-solid, a thorough cleaning might be all you need. But once mold gets into the paper backing and the gypsum core, the only real solution is to cut it out.
This visual guide shows the essential safety protocol for any mold removal project, emphasizing protection, containment, and isolation.
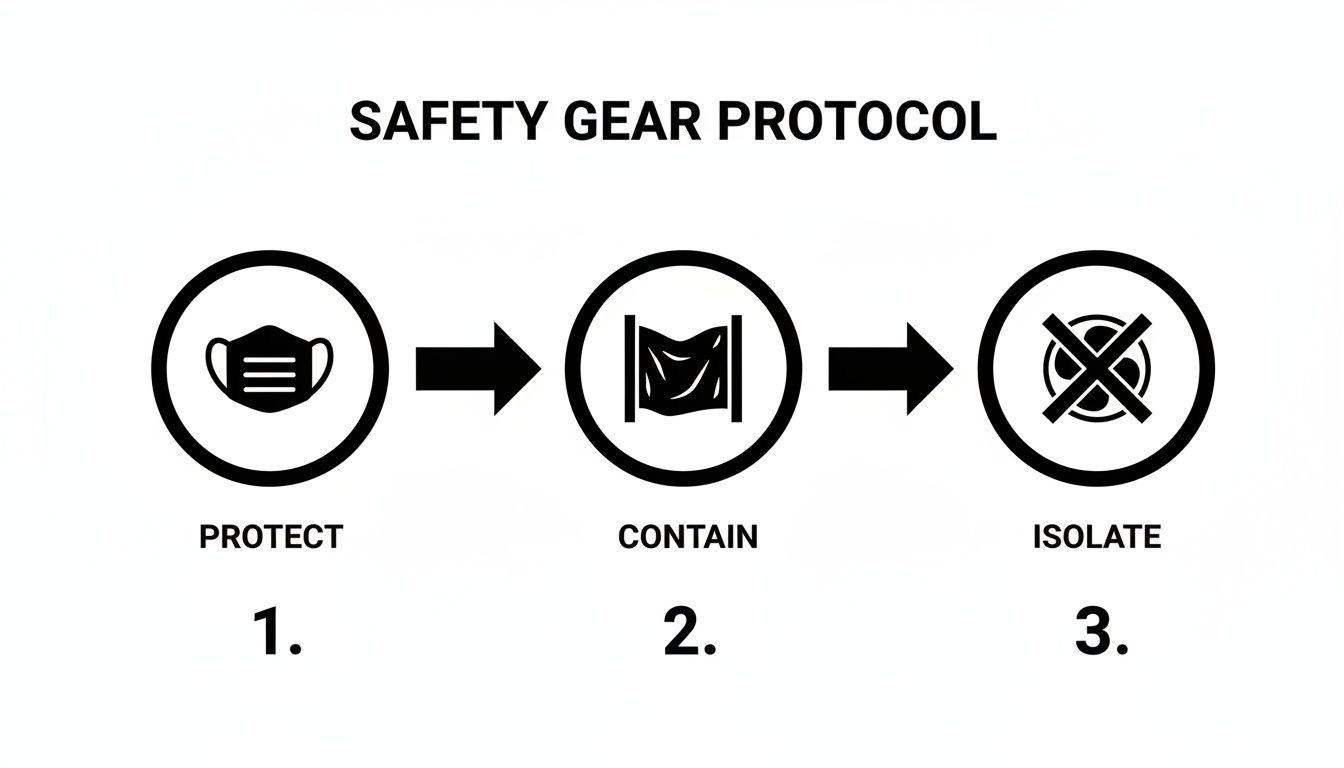
The takeaway here is simple: personal protection and containment aren't optional. They are the absolute first steps before a single piece of drywall is touched.
Marking and Cutting the Damaged Section
First thing's first: you need to define the removal area. Grab a pencil and a straight edge and draw a clear box around the mold you can see. But don't stop there. Mold is sneaky and has an invisible root system that spreads beyond what's visible.
To be safe, you have to add a buffer. I always recommend extending your cutting lines at least 12 inches beyond the visible edge of the mold on all sides. This clean margin is your best bet for making sure you get all of the compromised material, not just the obvious stuff.
When you're ready to cut, use a sharp utility knife to score your lines deeply. Then, you can use a drywall saw to cut along those scored marks. Try to make your cuts as clean and straight as possible—it will make patching things up later much, much easier.
A Pro Tip From the Field: Before you start sawing, use your utility knife to poke a small inspection hole right in the middle of the moldy patch. Shine a flashlight in there to check for plumbing or electrical wires. Trust me, the last thing you want is the surprise of cutting into a pipe or a live wire.
Safely Bagging and Disposing of Moldy Materials
Once you've cut the section free, don't just yank it out of the wall. Carefully pry it loose and place it directly into a 6-mil heavy-duty contractor bag. If you have a helper, have them hold the bag open right under where you're working to catch any crumbling bits.
Seal that bag up tightly with tape while you're still inside the containment area. Some pros even double-bag the material, which is never a bad idea. The whole point is to keep the spores on that drywall from getting into the rest of your home as you carry it outside. Make sure to check your local regulations on how to properly dispose of mold-contaminated building materials.
Cleaning the Wall Cavity and Studs
With the moldy drywall out, you're now looking at the exposed wall cavity. This is a critical step. Spores have almost certainly settled on the wood studs and the back of the drywall that’s still in place.
Start by using a HEPA-filtered vacuum to meticulously clean the entire cavity. A regular shop vac will just suck up the spores and blast them right back out its exhaust. A true HEPA filter is designed to capture 99.97% of particles as small as 0.3 microns, which is small enough to trap mold spores for good.
Vacuum everything. The studs, the floor plate, the raw edges of the surrounding drywall, and any insulation you can safely reach. Don't rush this part.
Choosing the Right Cleaning Solution
After vacuuming, it’s time to wipe down all the hard surfaces inside that wall. Many people's first instinct is to grab the bleach, but for porous surfaces like wood studs, it's not your best option. Bleach is mostly water, and its chlorine component can't penetrate deep into the wood to kill the mold's roots.
Instead, think about using a more effective solution. Here are a few solid choices:
- Undiluted White Vinegar: The mild acid in vinegar is great at breaking down mold's structure and killing it off.
- A Commercial Antimicrobial Cleaner: You can find EPA-registered products at the hardware store that are specifically made for killing mold.
- A Baking Soda and Water Solution: A paste made from one part baking soda to five parts water can be used to scrub surfaces and helps absorb those musty odors.
Apply your chosen cleaner with a scrub brush or a disposable rag, giving extra attention to any discolored spots on the wood. Scrub it well, then wipe the area with a clean, damp cloth. And the final, most important step? Let everything dry completely before you even think about starting repairs. Any leftover moisture is just an open invitation for the mold to come right back.
From Dry-Out to Prevention: The Final Steps to Beat Mold for Good
Getting that moldy drywall out is a huge relief, but don't celebrate just yet. The job is only half-done. True success is making sure that mold never gets a chance to come back. This last phase—drying, repairing, and preventing—is what really separates a quick patch from a lasting solution. If you leave any moisture behind, you're just rolling out the welcome mat for new mold spores.
Before a single tool for repair comes out, the entire area has to be completely, totally, bone-dry. I can't stress this enough. Hidden dampness in the wood studs or remaining insulation is the number one reason I see mold make a comeback.
Getting the Area Bone-Dry
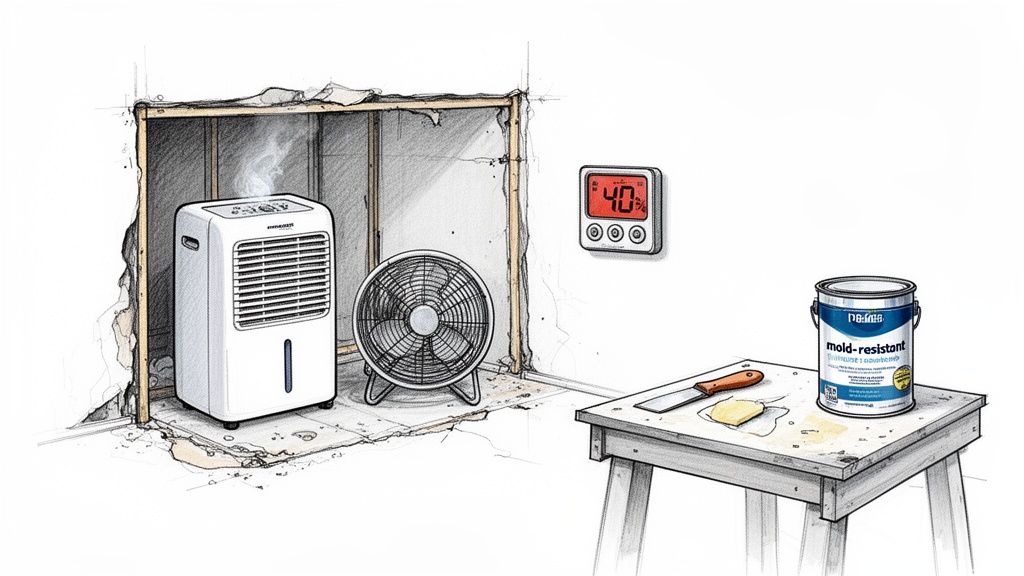
To properly dry out the wall cavity, you'll want some powerful allies: high-velocity fans and a good dehumidifier.
Point the fans directly into the open wall cavity. You want to create a vortex of air moving across the wood framing and the back of any surrounding drywall. This constant airflow is what pulls the trapped moisture out into the open.
While the fans are running, have the dehumidifier working in the same contained room to suck all that moisture out of the air. Your goal is to get the indoor humidity level down between 30% and 50%. A cheap humidity monitor (hygrometer) from the hardware store is perfect for keeping an eye on this.
For bigger jobs or serious water issues, the techniques in our guide on how to dry out a flooded basement can be scaled down to help.
A common mistake is stopping the drying process too soon. Even when it feels dry, keep the fans and dehumidifier going for at least another 48 to 72 hours. Wood is like a sponge; it can hold moisture deep inside long after the surface feels dry.
Repairing the Drywall the Right Way
Once you’re absolutely certain the area is dry, it's time to rebuild. This isn’t just about making it look good; it's a chance to build in some serious future protection against mold.
First, cut a new piece of drywall to fit snugly into the opening and screw it to the studs. Then comes the finishing work that makes all the difference.
Key Repair Steps:
- Tape and Mud the Seams: Apply drywall joint compound (we just call it "mud") and tape over the seams of your new patch. This creates a strong, seamless surface.
- Feather and Sand: Build up a few thin layers of mud, feathering the edges wider with each coat. After it’s dry, a light sanding will make the patch completely disappear into the wall.
- Prime with a Mold-Resistant Primer: This is a non-negotiable step. A quality mold-inhibiting primer seals the new drywall and creates a barrier that mold hates.
- Paint with Mold-Resistant Paint: Finish the job with paint that has antimicrobial additives. This is especially smart for bathrooms, laundry rooms, or basements where moisture is always a possibility.
Long-Term Prevention: Changing the Conditions
You’ve fixed the damage. Now, it's time to fix the environment that let the mold grow in the first place.
Think of this as an investment in your home's health. The stakes are real. Of the 21.8 million people in the U.S. with asthma, an estimated 4.6 million cases are directly linked to dampness and mold at home. When a 1999 Mayo Clinic study found that mold was the culprit in 93% of chronic sinus infections, it became clear how critical prevention is for a family's health.
Here are a few simple habits that make a world of difference:
- Manage Your Humidity: Keep indoor humidity below 50% all year. Always run the exhaust fan when you shower or cook.
- Attack Leaks Immediately: A tiny drip under a sink can turn into a massive mold colony. Make it a habit to check under sinks, behind toilets, and around appliances.
- Ventilate, Ventilate, Ventilate: Fresh air is mold's enemy. If a room feels stuffy, open a window. If your bathroom fan isn't clearing the steam, it might be time for an upgrade.
- Check Your Gutters: Make sure your gutters and downspouts are clear and channeling water far away from your foundation. Water pooling against the house is a guaranteed way to get a damp basement or crawlspace.
Common Questions About Removing Mold from Drywall
After walking through the steps of removing black mold from drywall, a few questions almost always come up. I get it—tackling mold feels like a high-stakes job, and you want to be sure you're doing it right. Let's clear up some of the most common uncertainties homeowners have.
Getting the right answers here is crucial for making sure the mold is gone for good and your home is safe.
Can I Just Paint Over Black Mold on Drywall?
I hear this one all the time, and my answer is always a hard no. Painting over mold is just hiding the problem, not solving it. Think of it this way: the mold colony is still alive and well underneath that fresh coat of paint. It will continue to feast on the drywall paper, degrade the structural integrity, and pump spores into your home's air.
Don't be fooled by mold-resistant paints, either. They're designed to stop new mold from getting a foothold on a clean, properly remediated surface. They have zero power to kill an existing mold problem. The only way to win is to completely remove the mold and any contaminated materials.
Is Bleach an Effective Mold Killer for Drywall?
It’s a common myth that bleach is the ultimate mold-killer, but for a porous surface like drywall, it’s one of the worst things you can use. The chemical makeup of bleach prevents it from soaking into the drywall to kill the mold's "roots" (the hyphae).
Instead, the water in the bleach solution sinks in, giving the mold a nice drink and helping it grow deeper. The chlorine part just sits on the surface, bleaching the color and making you think you've solved it. It’s a false sense of security that can make the infestation worse. Professionals use EPA-registered antimicrobial solutions formulated to penetrate and kill mold on porous surfaces.
When you're facing a significant remediation, the associated costs can be a concern. Understanding the factors that influence the final price is important, which is why we've detailed what goes into calculating the cost of water damage repair to give homeowners a clearer picture.
How Can I Tell If Mold Is Inside My Walls?
The sneakiest mold problems are the ones hidden from view. If you know you've had a plumbing leak in the past or just live in a humid climate, you need to know what to look for—and smell for.
Keep your senses on high alert for these tell-tale signs:
- That classic musty smell. If a room has a persistent earthy or damp odor but you can't see anything, there's a good chance mold is growing behind the scenes.
- Mysterious stains or discoloration. Yellow or brown spots appearing on drywall for no reason are often a sign of water damage and hidden mold.
- Bubbling or peeling paint. This is a dead giveaway that moisture is trapped behind the paint, creating a perfect breeding ground.
- Warped or soft drywall. If you press on the wall and it feels spongy or crumbles, moisture has already compromised it.
If you notice any of these red flags, it’s time to investigate further. It’s always better to catch a hidden mold problem early than to let it fester inside your walls.
When a mold problem goes beyond a small DIY fix, you need experts you can trust to handle it safely and effectively. The Restore Heroes team is IICRC-certified and ready to tackle mold removal in the Phoenix area. We offer onsite inspections to assess the damage and restore your home to a safe, healthy condition. Visit us at https://www.restoreheroesaz.com to schedule your inspection today.