
Ask a homeowner what happened and you'll hear the cause. A pipe let go under the sink. The washing machine hose split. The monsoon pushed water under the patio door. Ask a restoration crew what happened and you'll hear a number, usually in hours, because the cause tells you almost nothing about what can be saved.
Two houses can flood on the same street in the same storm and end up in completely different phases of work. One gets dried out and put back together. The other gets containment plastic, a dumpster and new drywall. Time and condition make that difference, not luck.
Water mitigation vs remediation is one job with two phases, and knowing which phase you're in tells you what to do in the next hour.
Water Mitigation vs Remediation at a Glance
The two words are often used as if they described the same crew doing the same work. They answer different questions. Mitigation asks how to stop the loss right now. Remediation asks how to correct what the loss has already caused.
This isn't marketing language invented by contractors. The restoration trade has split the two phases formally for decades. The ANSI/IICRC S500 standard has covered procedures and precautions for water-damage restoration since its first edition in 1994, and the current fifth edition dates to 2021. That's more than 30 years of documented practice sitting behind the distinction.
Here's the comparison laid out side by side.
| Factor | Water Mitigation | Remediation |
|---|---|---|
| Main goal | Stop and limit damage after a water event | Remove or correct contamination and restore the building |
| Starts when | Right after a leak, burst pipe or flood | Mold is present, or materials stayed wet beyond about 48 hours |
| Timing | Within 24-48 hours of the event | Days to weeks, depending on scope |
| Typical actions | Stop the source, extract water, dehumidify, add fans | Containment, removal of porous materials, cleaning, HEPA vacuuming, verification |
| What it usually saves | Carpet, drywall, flooring and contents dried in place | Only materials that can be cleaned safely; others are removed and replaced |
Two sentences cover the sequence. Mitigation almost always comes first, and remediation follows only when mold appears or materials stay wet too long. That makes them stages of one job rather than competing options on a quote, which is why a single leak can cross from one into the other over a weekend.
Many projects contain both phases. The dividing line is a 24 to 48 hour window that the U.S. Environmental Protection Agency treats as a prevention guideline: wet or damp materials should generally be dried in that period, because mold will usually not grow when drying is finished promptly. Read it as risk control, not a guarantee. The same guidance notes that mold can sometimes appear earlier.
The one-line test: if the materials dried quickly, the job is mostly mitigation. If they stayed wet or show growth, expect remediation to be added.
How Mitigation Stops Damage in the First 48 Hours
Mitigation is a sequence, and every step exists because skipping it costs material. The work done earliest on site usually decides whether carpet, pad and drywall stay in the house or leave it in a truck.
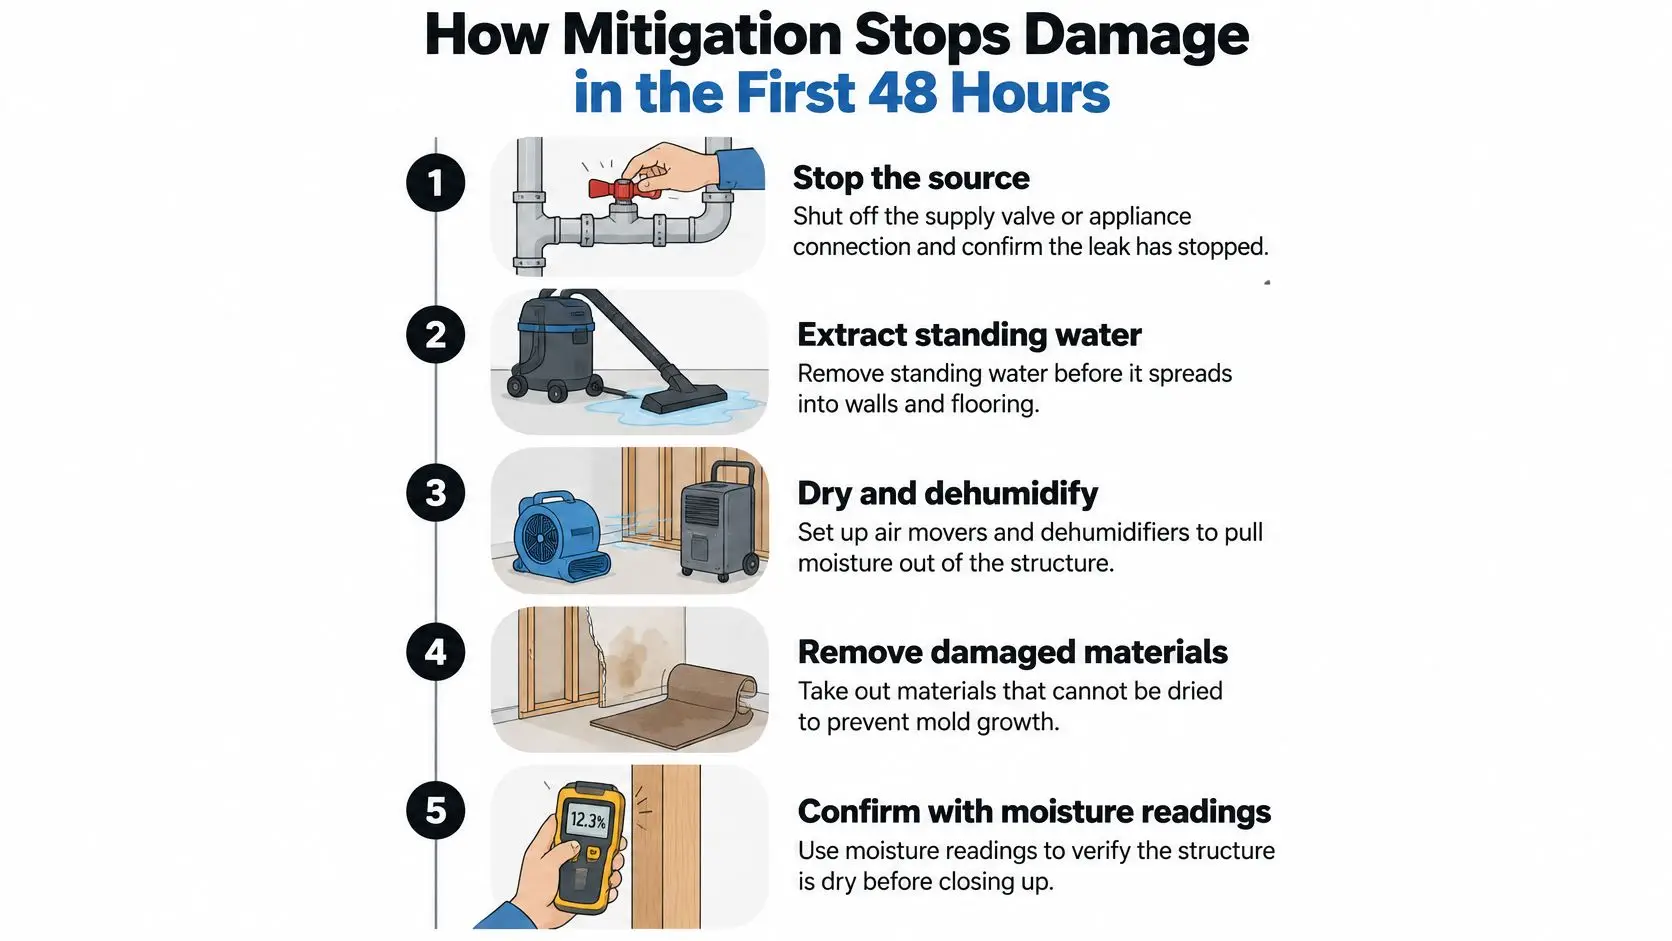
Here's how the work runs on a straightforward residential loss.
- Stop the source. Shut the supply valve or the appliance connection, then confirm the leak has stopped by watching the meter or the joint for a minute. The common mistake is starting fans and dehumidifiers while water is still trickling in, which just dries the same material repeatedly.
- Extract standing water. Pumps and wet extractors pull water off the surface and out of carpet before it wicks down into pad and subfloor. Towels and a household shop vac handle a puddle, not a flood, and the water under the pad is the part that matters.
- Lower the humidity. Dehumidifiers pull moisture out of the air so wet materials have somewhere to release it. Keep windows closed during humid weather, because open windows on a monsoon afternoon put the moisture straight back into the drywall you're trying to dry.
- Add air movement. Air movers aimed along wet walls, across floors and into open cavities speed evaporation at the surface. One box fan in a doorway feels like progress and moves almost nothing at the base of a wall where water collects.
- Lift or remove wet carpet and pad. Carpet needs to come off the tack strip and the pad usually needs to go, so the subfloor and the carpet backing can both dry. The classic error is leaving the pad in place because the carpet feels dry underfoot.
- Take readings and photos at every stage. Moisture meters and thermo-hygrometers turn drying into a measured process, and photos record the condition of each material before anyone touches it. Those records do two jobs at once: they prove the structure dried, and they give an insurance claim a paper trail showing what was wet, when it was wet, and when it stopped being wet.
The clock is not the target
Federal mold guidance frames the early response around fixing the water or humidity source, extracting water, lowering indoor humidity with dehumidifiers and accelerating evaporation with fans. It also separates that work from what follows: once materials have stayed wet past roughly 48 hours or show growth, the job moves to remediation procedures rather than ordinary drying.
The 48-hour figure is a window for reducing risk, not a stopwatch that ends the job. Materials have to be dry, verified with readings that match a dry standard for the building. Hours wet and material condition set the timeline, so two rooms hit by the same leak can finish on different days.
Practical rule: dry to a number, not a feeling. A wall that feels dry to the back of your hand can still hold moisture that a meter will find.
Roof leaks are the classic hidden source, and the signs of a leaking roof often show up in a room far from the actual breach, which means the drying zone is usually larger than the stain. That's also why emergency water mitigation is a phone call rather than a weekend project.
What a finished dry-out looks like
A dry structure has three signatures. Moisture readings sit back in the normal range for that building and that material. There's no damp, musty odor when you walk in from outside. Materials feel firm and sound, not soft at the base of a wall or spongy underfoot.
Reaching those signatures takes equipment sized for the job. Restore Heroes uses advanced extraction, drying and dehumidification equipment during this phase, because household fans and a hardware-store dehumidifier can't pull moisture out of a wall cavity fast enough to matter.
Which Phase Fits Your Conditions
Find the row that matches your situation.
| Condition | Usually Mitigation | Usually Remediation |
|---|---|---|
| Carpet wet under 48 hours, no odor or staining | Extraction, lifting, airflow and dehumidification | Not needed unless growth appears |
| Carpet and pad wet beyond 48 hours | Inspection first; drying is often not reliable | Pad and carpet removal, then subfloor cleaning and drying |
| Drywall wet under 48 hours | Cut-back where needed, airflow, moisture readings | Only if moisture stays high or mold appears |
| Visible mold on drywall or insulation | Stop the water source only | Containment, removal of porous materials, cleaning of salvageable surfaces |
| Hardwood or subfloor wet | Immediate extraction, dehumidifiers, fans | Replacement if damage or contamination persists after drying |
| Standing water from a contaminated source | Extraction with protective equipment | Containment, safe disposal and cleaning under remediation procedures |
The EPA's basic cleanup guidance backs the material split in that table. Carpet and backing can often be saved with extraction, lifting, airflow and dehumidification, while wood needs moisture pulled out immediately with dehumidifiers, fans and cautious heat. Past roughly 48 hours of wetness, or once visible growth is present, the work shifts toward containment, removal of porous materials and cleaning of what can be salvaged.
Five questions settle which phase you're in.
- How many hours have materials been wet? Under 24 hours points to fast mitigation. Between 24 and 48 hours means drying has to be verified rather than assumed. Past 48 hours points to a remediation evaluation, not just faster fans.
- Is there visible mold, a musty odor or staining? Any one of the three shifts the job toward remediation, even if the water only ran for an afternoon. Odor counts, because it usually means growth in a cavity you can't see.
- What is the water source? Clean supply-line water is a different job from sewage or outdoor floodwater. Contaminated water needs protective gear and may require containment from the first hour, which is the reasoning behind category 3 water damage protocols.
- Which materials are affected? Hard surfaces usually dry in place. Porous carpet, drywall and insulation are harder to save, and the EPA notes that wet paneling may need to be pulled away from the wall to expose hidden surfaces, with the subfloor checked and dried beneath carpet.
- Are occupants or sensitive areas at risk? Anyone with asthma, allergies or a compromised immune system pushes the cleanup earlier and makes containment more important, especially when the affected area is a bedroom or a child's room.
The EPA's remediation guidance for commercial buildings also treats visibly mold-coated porous materials such as carpeting, drywall and insulation as candidates for disposal when they can't be cleaned properly. That's the honest limit on drying: some materials are past saving and no amount of airflow changes it.
Before you call anyone: write down three things. Hours since the leak started, any staining or smell, and which materials are wet. Those three lines match a row in the table above, and they're the first three things a crew asks.
Insurance and Documentation Before Materials Go
Homeowners assume insurance covers water damage automatically. It doesn't. FEMA states that National Flood Insurance Program policies generally do not cover mold damage and that policyholders must take reasonable action to prevent mold growth, as the agency explains in its guidance on damage and mold. Policy terms also vary by peril, so a sudden pipe burst and a flood loss can be handled very differently under the same roof.
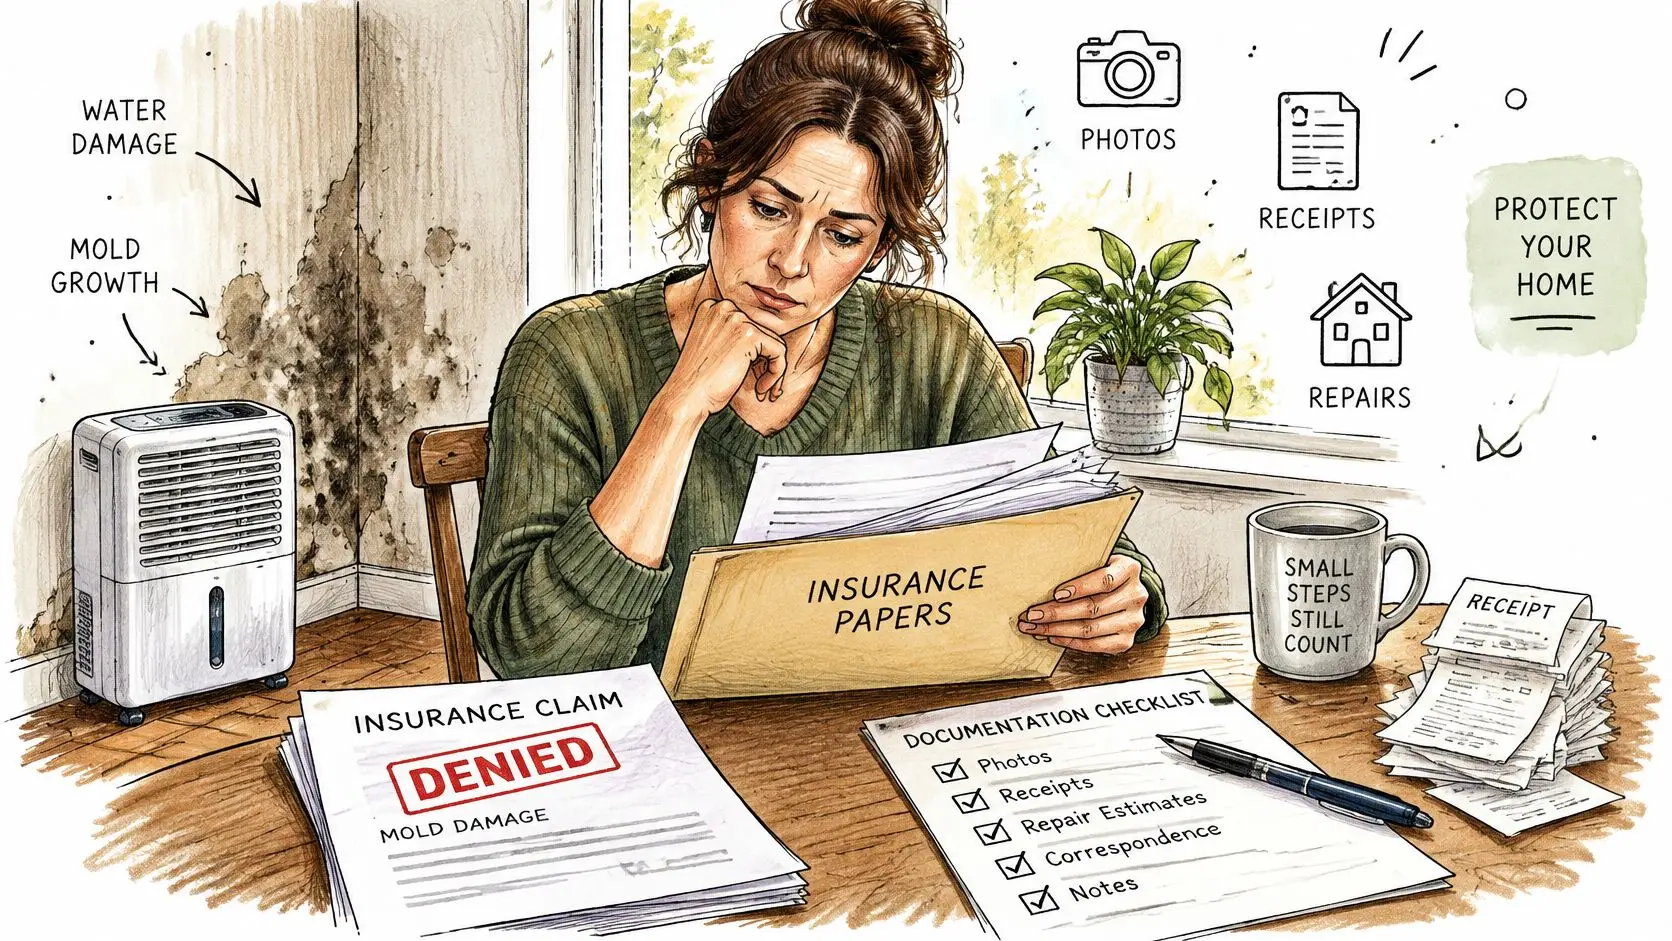
The cost side has moved too. In 2024, weather-related water-loss cost rose 25.4% over 2023 and claims severity rose 29.6%, even as claims frequency fell 3.2%, according to LexisNexis Risk Solutions. Adjusters are looking closely at what was done and when.
Document first, move second
Order matters here, and it runs in the same direction as the work itself.
- Photograph or video the damage before you move a single item, including wide shots that show where the water started and stopped.
- Record the source and the time of discovery. "Supply line under the kitchen sink, noticed at 7:40 pm" is worth more than "kitchen flooded."
- Keep moisture readings and drying logs at every stage, since they show the structure was drying, not sitting wet.
- Save receipts for equipment rental, fans, dehumidifiers and emergency work.
- Hold damaged materials until the adjuster has reviewed them where it's feasible, because a cut-out carpet pad is evidence as much as it is trash.
A clean record of insurance claim documentation is often what separates a straightforward payout from a dispute about when the water arrived.
Safety comes before any of that. FEMA recommends at least an N-95 respirator, gloves and eye protection during mold cleanup, and cleanup should be finished before anyone reoccupies the space.
Mold appearing does not mean remediation is automatically covered. Coverage can depend on the initiating event, policy exclusions and proof that reasonable action was taken. Restore Heroes is IICRC certified, licensed, bonded and insured, and we document work under recognized IICRC practice. What an insurer decides to pay is a separate question, and no one on our side can promise the outcome of a claim.
How the Two Phases Play Out on Real Jobs
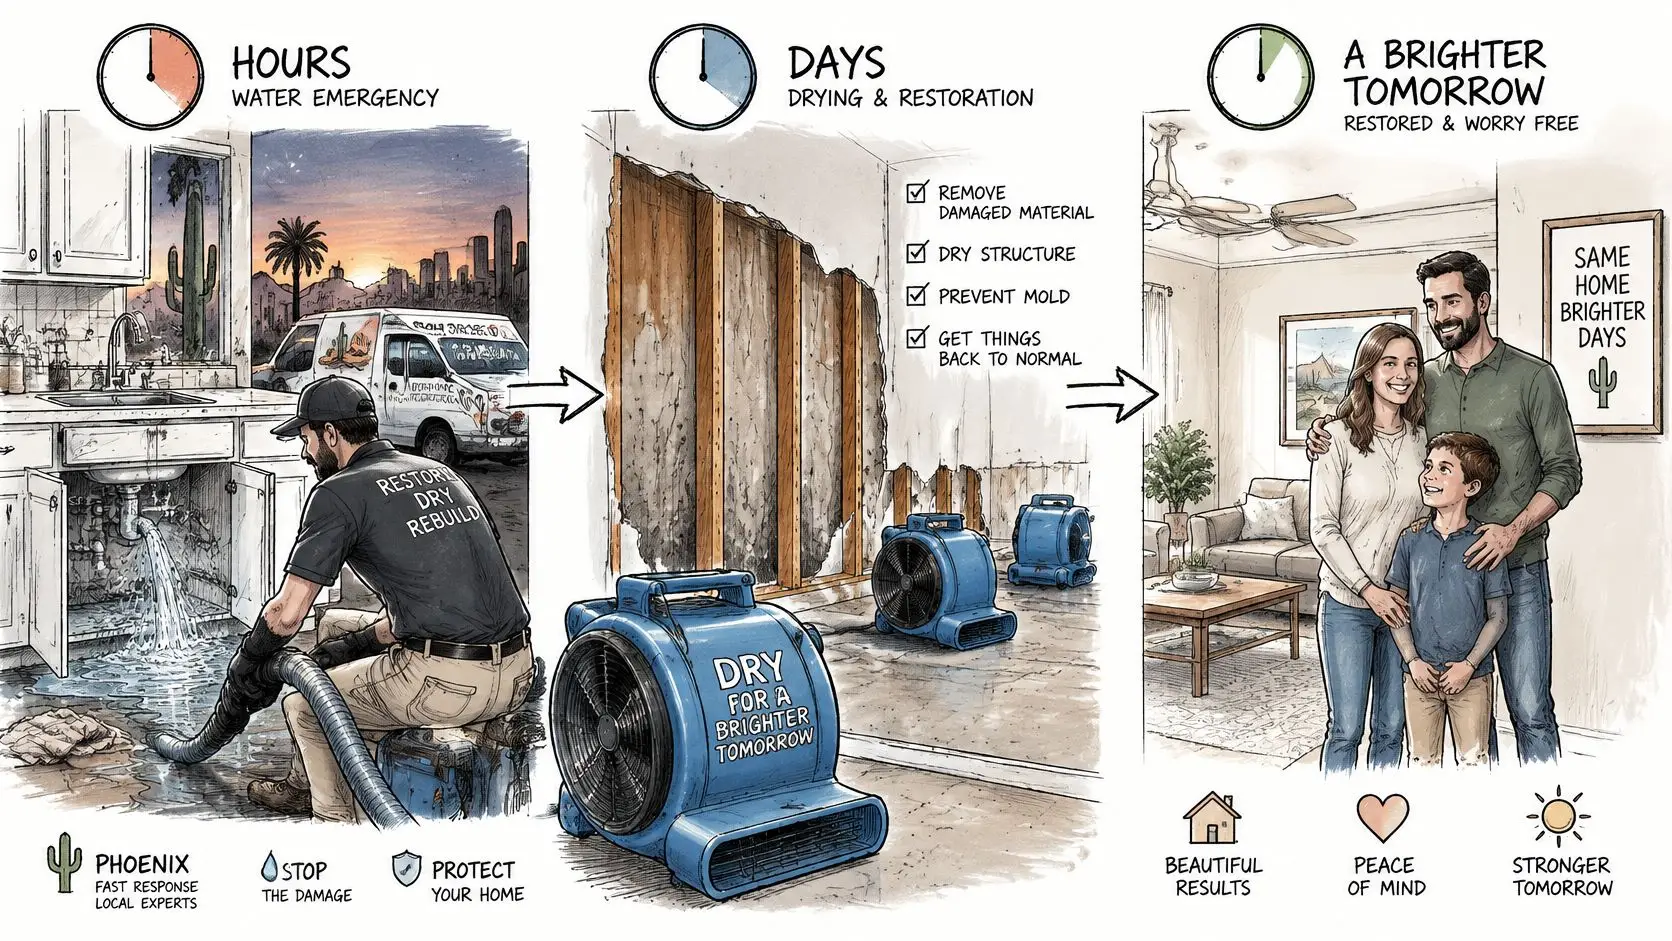
Same cause, three different endings.
A Friday night pipe in a Phoenix home
A supply line fails behind a washing machine at 6 pm and the homeowner catches it within the hour. Extraction starts that evening, air movers and dehumidifiers run through the weekend, and readings come back to normal by Sunday. The job stays in mitigation: drying equipment, a replaced section of pad, a small drywall patch. Had that same line dripped unnoticed for four days, the identical pipe would end in remediation, with containment, cut-out drywall and cleaning of the framing behind it.
An appliance leak behind a commercial kitchen wall
Dishwasher lines fail inside cabinetry and show up as a soft toe kick or a warped floor. Mitigation dries the floors and the contents of the kitchen first. When the wall cavity is opened and growth is visible on the sheathing, remediation takes over for that section: containment, removal, HEPA vacuuming, then verification before the wall closes again. Two phases, one claim, one address.
Storm flooding after heavy rain
Floodwater can carry contamination, so protective equipment and containment matter from the first hour rather than after a smell appears. The drying clock still governs the materials. Water in drywall is still measured in hours, even when the water arrived from the sky. We handle water damage caused by flooding, burst pipes, appliance leaks or severe storms, and the phase is decided by the condition of the materials rather than by the weather report.
The stakes are larger than one house. In 2024, floods caused more than $8 billion in damage to U.S. homes and businesses, including $3.8 billion in communities not designated as high risk, according to FEMA's National Flood Insurance Program.
The water damage restoration process runs from emergency response through final reconstruction, and this walkthrough shows how the phases connect.
The phase is set by time and condition, not by the cause alone. The same burst pipe can end in a dry-out or a demolition.
Confirm the Right Phase Before Drying or Demolition
Confirm the phase within hours, not days. Take photos, note the time you found the leak, and stop further water only if it's safe to do so, because a wrong move at a valve can turn a small loss into a big one.
If drywall is wet and you're deciding whether to cut or dry, a plain guide to drying wet sheetrock safely is worth ten minutes before the saw comes out. The decision is about the material, not about how the wall looks from the outside.
Restore Heroes offers a free onsite inspection and estimate, available 24/7 through the contact form or by calling 480-690-5277. Request service by selecting Water Damage, Fire and Smoke Damage, Mold Removal, Trauma and Biohazard Cleanup, or Others. Its IICRC-certified team will assess the damage and build a plan to remove moisture from the property. The service area is greater Phoenix and Rim Country. Inspection findings determine the plan: no one can promise a response time, a coverage decision or a price before seeing the damage.
When remediation does run, the job isn't finished until clearance confirms it. Here's how post-remediation verification works and why that step matters before reconstruction starts.
Have three things ready for the call: the photos you took, the timeline of when the leak started and when you found it, and a list of affected rooms and materials.
Water damage doesn't wait for a convenient hour, and the phase your job lands in is decided by how quickly moisture comes out of the structure. Restore Heroes handles the full sequence, from emergency extraction and structural drying through containment, cleaning and reconstruction, with IICRC-certified crews serving the greater Phoenix area and Rim Country. If you're looking at wet materials and aren't sure whether you're facing mitigation or remediation, book a free onsite inspection and get a clear answer before anything gets cut. Visit Restore Heroes to get started.